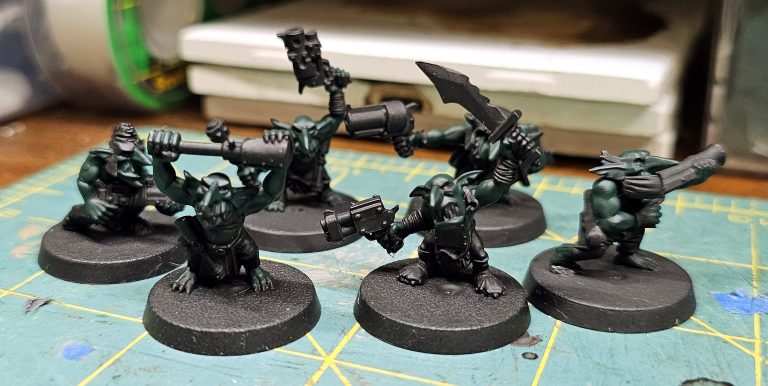
He’s Big, Mean, and Green! … and not an ork.
Boom!
We’ll see how long this lasts 😉
A long time ago in a house about 5 miles away, I started a green project, but of a different kind. It’s a Bride of Frankenstein and The Monster kit that my wife wanted me to do up (she’s a huge Bride fan). Looking for something to while the time away and brush up on my painting skills before returning the mighty green horde, I revisited this awesome kit to test myself.
Earlier I worked on the clothing for both as it was pretty easy. I was hesitant to work on the faces for a few reasons. One, the scale is MUCH larger than our standard 28mm figures. Second, I knew I’d need to do some larger area blending and wasn’t sure how to go about it. In the interest of pushing myself, I dove in last night and figured I could always strip and reprime if I screwed it up too badly.
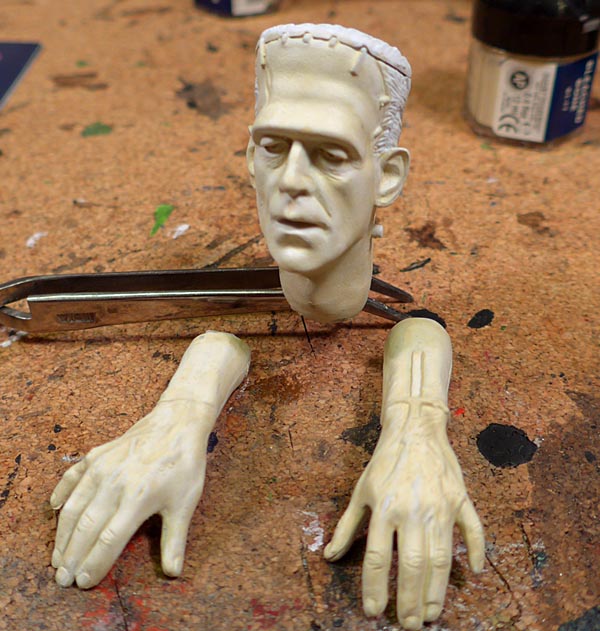
So, in my usual fashion of step by step (when I remembered to take photos, that is), here’s how I did Frankie’s head and hands.
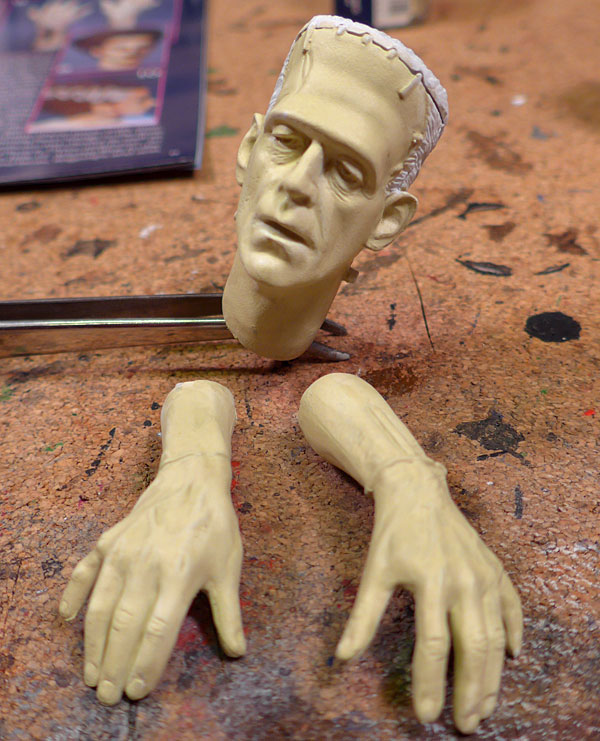
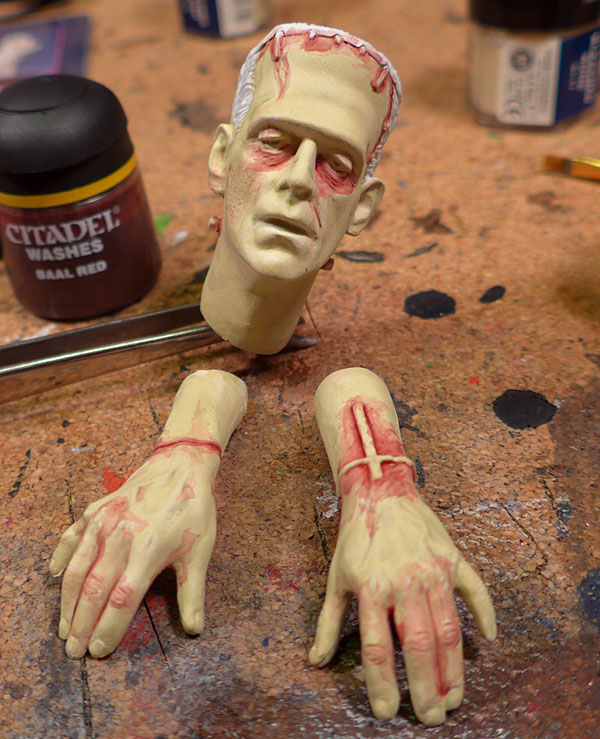
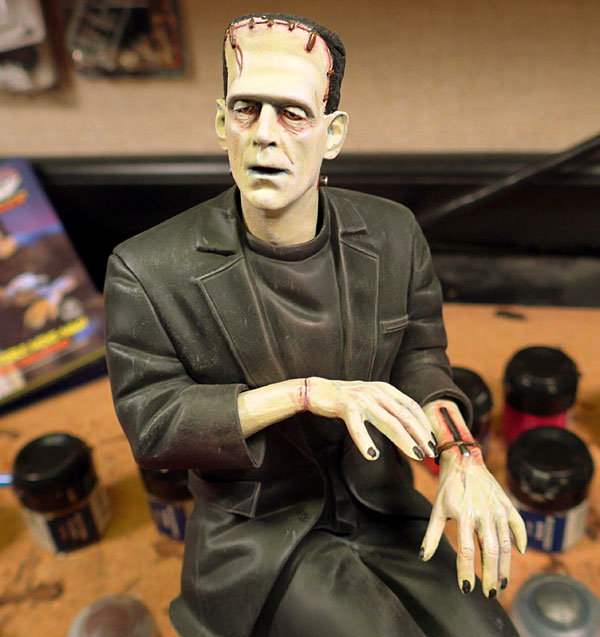
The head and hands were primed white, then I applied a base coat of Bleached Bone and a thin covering of Rotting Flesh – (first two photos). I wanted a light, almost ghostly pallor to his skin, I wasn’t looking to go all super-green, comic style monster. The green should almost be a rotting, under the skin appearance so I didn’t mind of the lighter Bleached Bone showed on the high points as I was planing on wet brushing back up to create highlights later.
To achieve a bit of a sore, bruising effect around the stitching/attachment points for the various body parts (you would think they’d be a bit sore), I used Baal Red wash from GW. This was built up in a multiple layers, each one adding more color closer to the gaps and the deepest recesses under the eyes and around the rope/metal bar holding the left wrist together. (looks a little painful, doesn’t it?) Yes, the application is a little sloppy at this point but I know I was going back over with the Rotting Green and Bleached Bone to blend it back in. This also achieves a bit of an underpainting technique, tinting the skin form underneath.
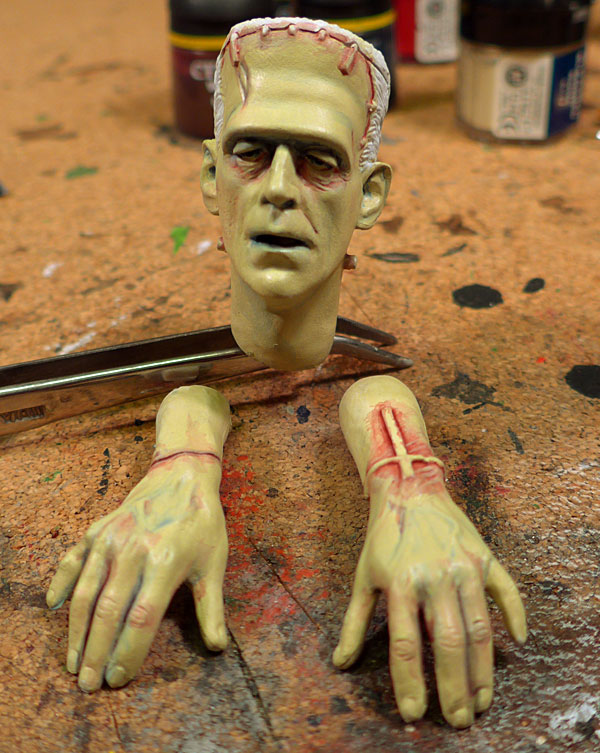
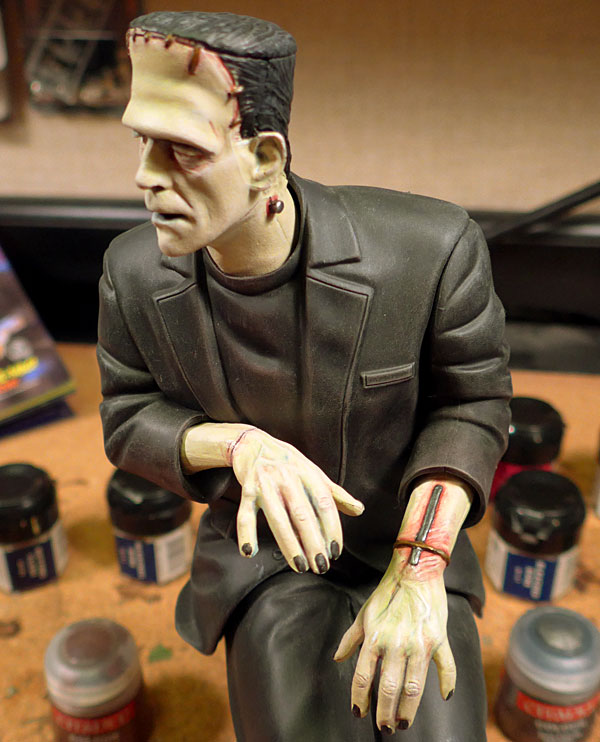
I now moved onto the blues. This was applied around some of the veins in the hands, under the chin, mouth, nostrils, and under the brow. The blue creates a much more subtle shadowing under the brows that simply using black. There’s a small touch of Baddab Black wash in the deepest recesses of the mouth, nostrils, and underbrow/eyesockets. Things are a little rough, bit the wet brushing stage helps bring it all together.
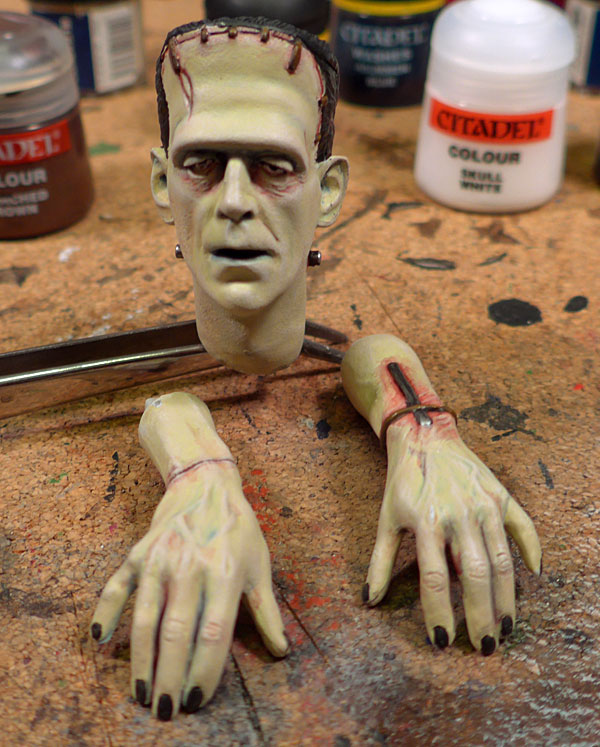
So, here’s where I got dug in and was so in the flow I didn’t take many pics. Here’s what’s happened since: I wet brushed Rotting Flesh, then a wet brushing of Bleached Bone to bring back the highlights and blend the bruising effects together. I also did a very light wet brushing of Skull White to the very highest points (brow, nose, cheekbones, knuckles, etc). This gives a little extra pop and adds depth without having to darken the recesses excessively. I also did the fingernails, rope and bar, hear, and leather stitching holding his skullcap on.
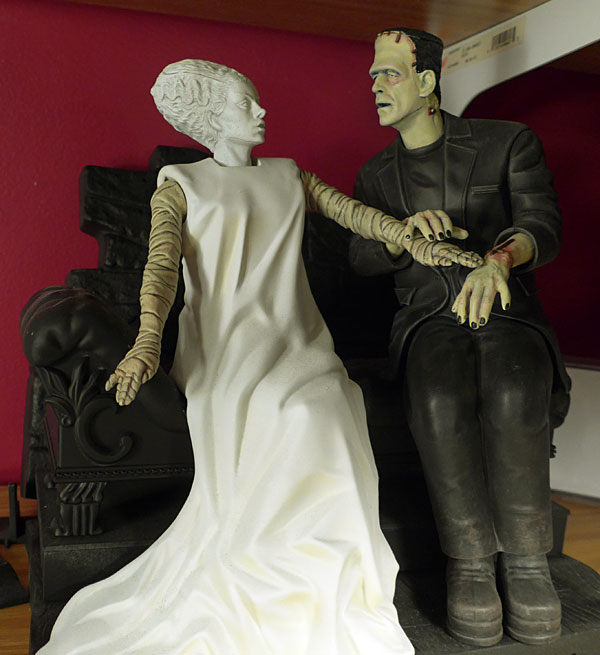
Here’s the completed Frank figure with his head and hands in the right place 🙂
And a quick shot with his honey – Her dress and arms are done, still waiting for the courage to start her face. There’s also a settee, floor, stone wall background and assorted lab equipment to paint up but those will be fairly easy and quick. I’m excited to work on the settee and stone as I’ve read up on some new techniques I want to try on them.
Till next time!
Later!
and yes, I’ll be returning soon to the bomma – just need to finish the Bride and Frank first.