Sometimes you get stuck, you come to a roadblock that you can’t blow through with ease, something that stymies you for a good long time. That was the canopy for the blasta bommer for me. I’ve had time since I primed this beast and each time I looked at the canopy and was just blind as to how I was going to pull it off. Now, almost a year later later, I’ve got some precious time to devote to my hobby and damned if I was going to let it get away again!
I threw a bunch of ideas at the wall the last four or five days and finally decided upon a path to finish the build. Here’s the overly explained steps in creating my canopy. Sure, there might have been easier ways to do it but I’m a fan of beating myself up until I figure something out on my own.
I used file card paper to construct a template (after many tries) and used it to make my canopy frames. Canopies are typically spindly, fragile pieces of metal held together by glass. Because of this fragility, I choose to lay each peice out flat and cut the window pieces out seperately, then score them where they should angle down. This gave the entire piece more rigidity while cutting out the windows.
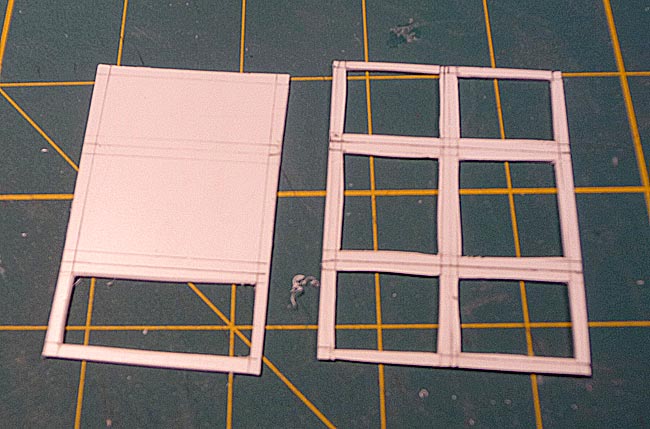
Here is each frame all cut out ready for scoring and bending.
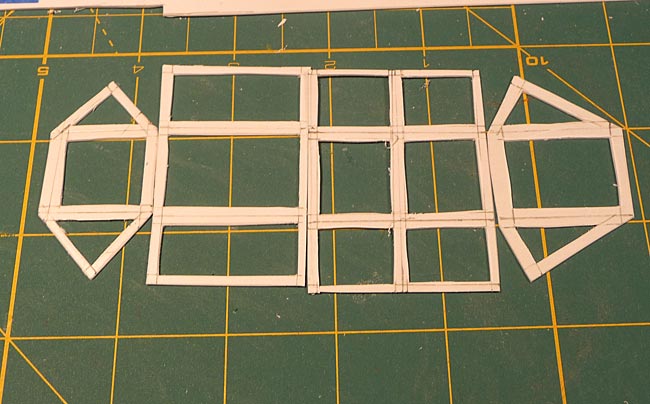
I cut little angled supports to add some structural support and to help keep the correct angle.
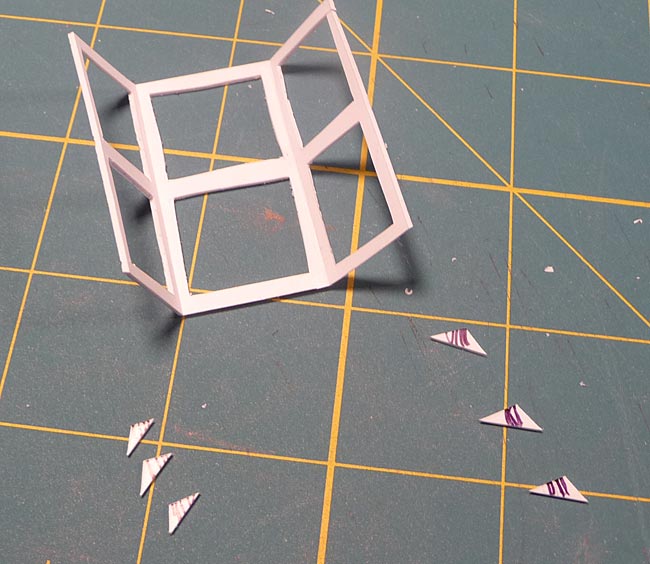
I added some channel to the edges for support and looks, which also adds detail – a place to put RIVITS!
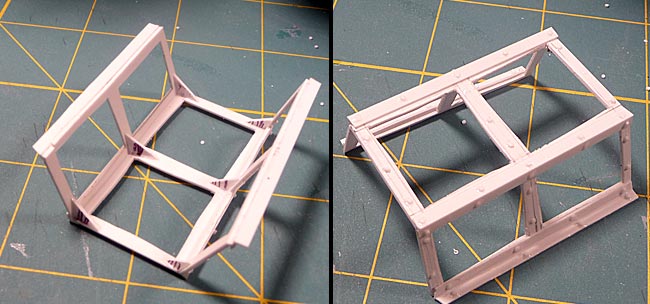
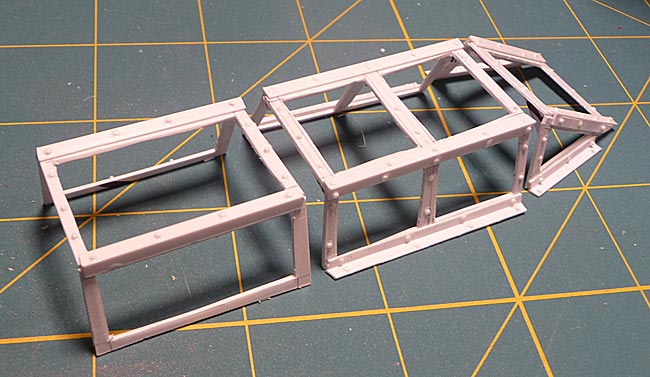
I’ve already glued the front windshield into place as I can reach the interior of it to add the glass after painting. Here’s the other assembled pieces.
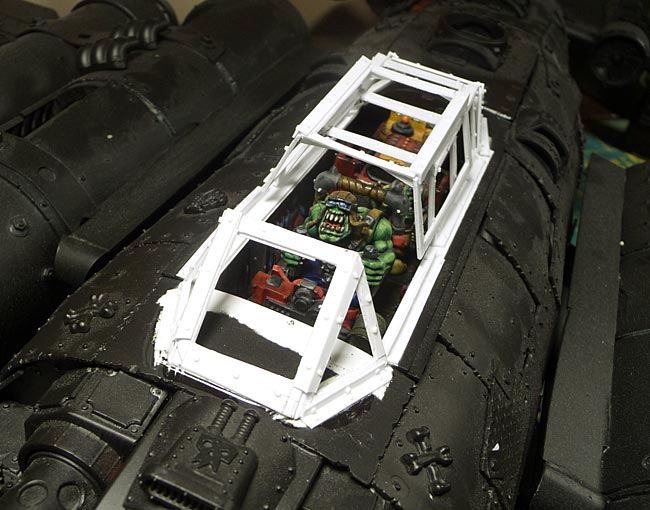
And the pieces in place on the fuselage.
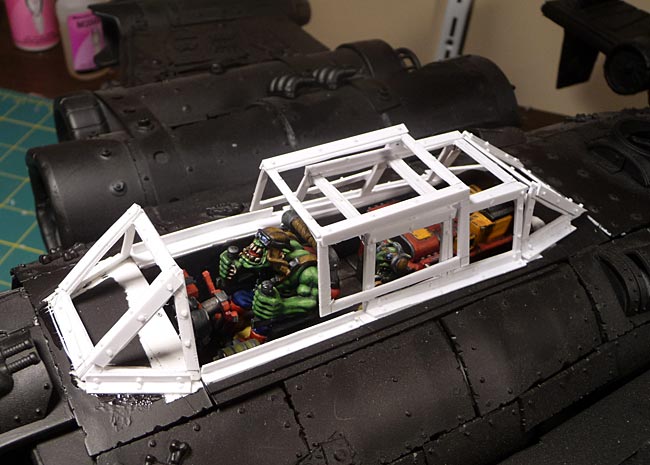
I’ll be painting these parts by hand and when I’m finished, I’ll be adding glass panes using white glue (it dries transparent without crazing) to finish up.
At this point, I can actually call the build on this pig done! On to some other color than primer black. 🙂
Later!
Sukigod