I did the base color for both tanks at the same time and I’ll show the second step on the turret of the second tank.Here it is all dabbed up.
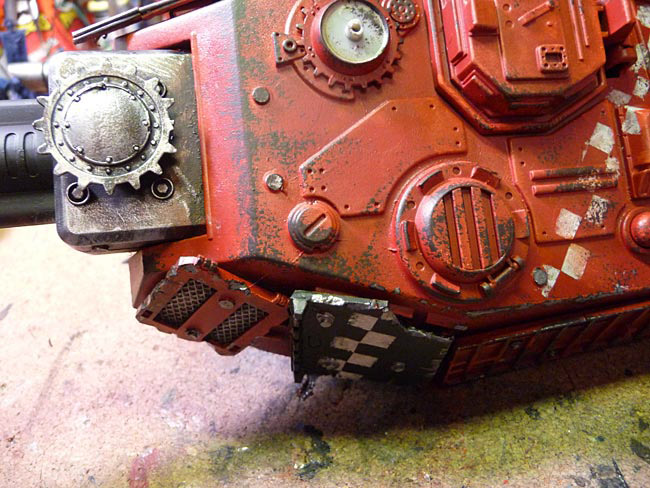
I used a 20/00 brush for this part – no particular reason, it’s just what I happened to grab. It does happen to help when touching small pinpoints as you’ll notice in the final step.I applied a thinned down Boltgun Metal to any part of the sponged paint from the last step where it goes over and edge. I also fill in some of thelarger areas that are basically solid fills and then feather off the edges. I also dab the tip of the brush in some, but not all, of the smaller spots. Put the silver closer to the main area or starting point of the wear and let it fall off as you get further away.
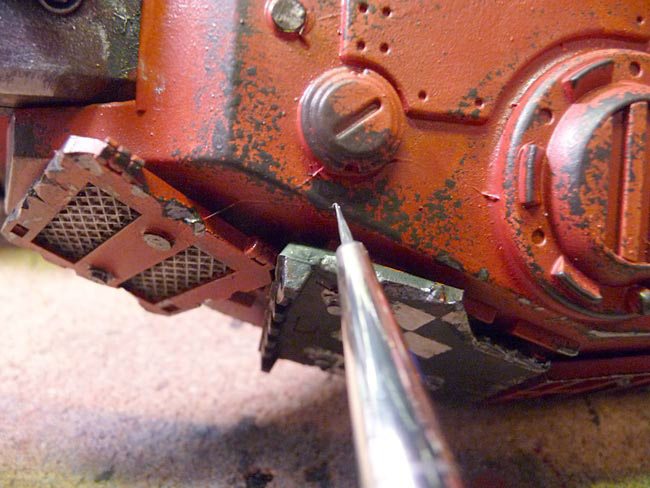
Here’s the turret when finished. Note that as I get farther away from an edge (say the front crest of the turret), there’s less metal color and eventually only the brown/black spots? You can increase the amount of wear by adding more brown but not have to add any more metal as the metal that’s already there tells you it’s chipped paint and your eye fills in the rest of the story. This means you don’t have to be absolutely literal in you application of the Boltgun Metal.
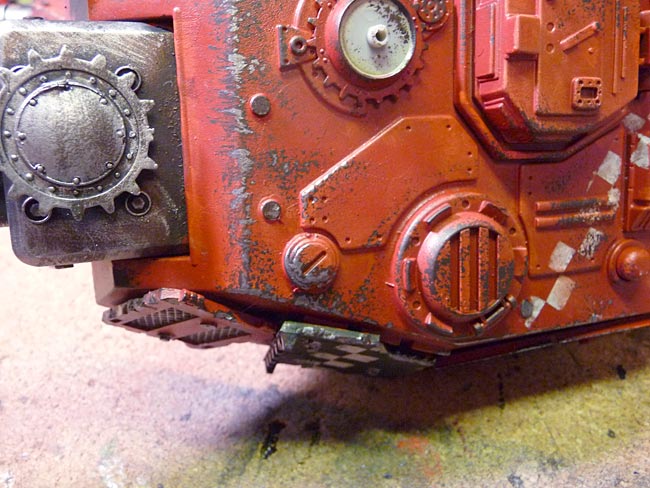
The turret put back on the tank…
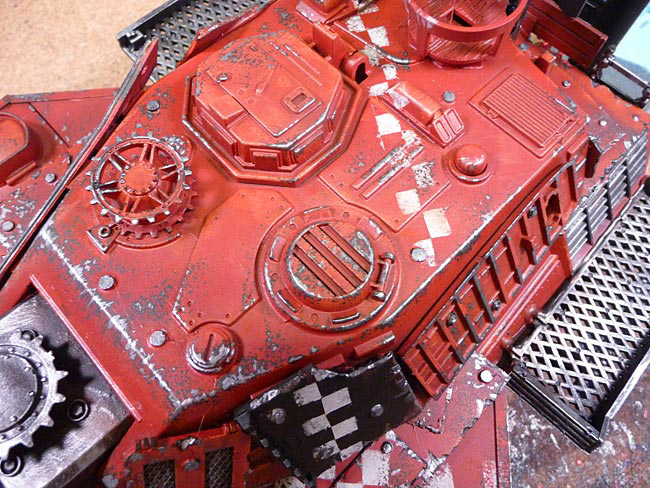
And both tanks as they are now.
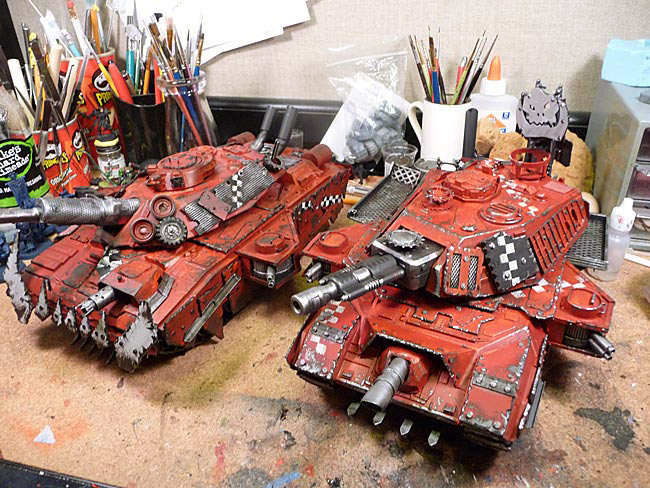
I’ve only done the metal parts on one so far. I spent about 2 hours doing the base chip color anddoing the metal on one tank. I figure it’ll be about another hour to finish up the metals on the second tank. The next step will be to dirty it up with a coating of Badab Black and some Devlin Mud for variation.Then the final details and sealing.
Later!