TUTORIAL TIME!
Biff Gunhed over at Warseer asked about the “stippling”method I use to weather the paintjobs on my vehicles now. I’ve reached that point and made a visual tutorial of how to do it (at least how I do it)
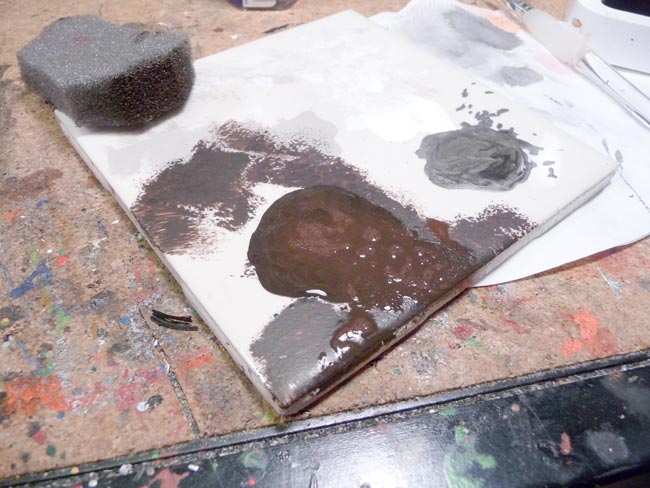
I choose a Chaos Black/Scorched Brown as a “primer”, or base color for my wearing. It seems most natural for a red based paint job and works well for me. The grey sponge at the upper left is either a blister sponge or one I cut from a larger piece of some kind of packing foam. I’ll use this, let it dry out, then cut off another angle and keep doing this ’til I run out.
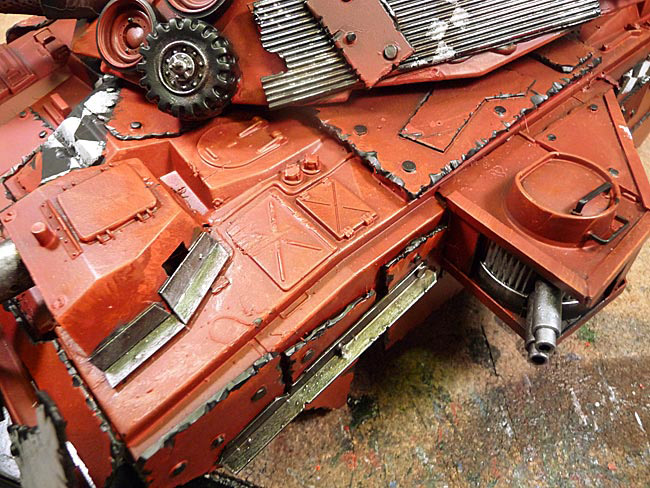
Now our test subject painted up…
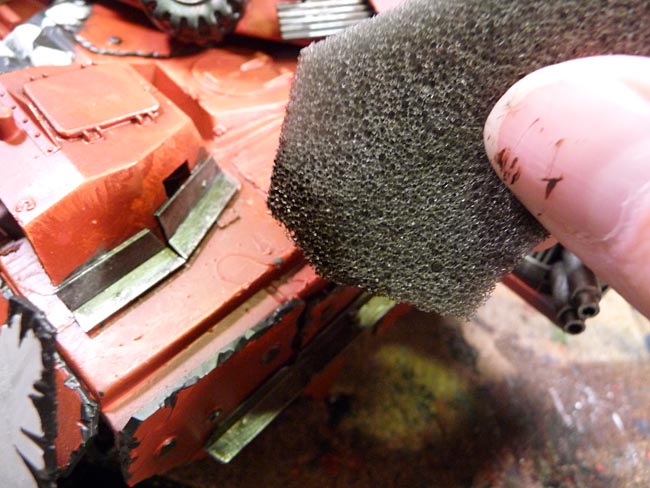
Here’s the sponge dipped into the paint and then kinda “sponged” off a bit on my tile palette – this is similar to removing most of the paint for dry brushing.
Apply the sponge to the surface of the model, focusing your attention on edges, places where natural wear patterns would occur and places you want to muck up basically.
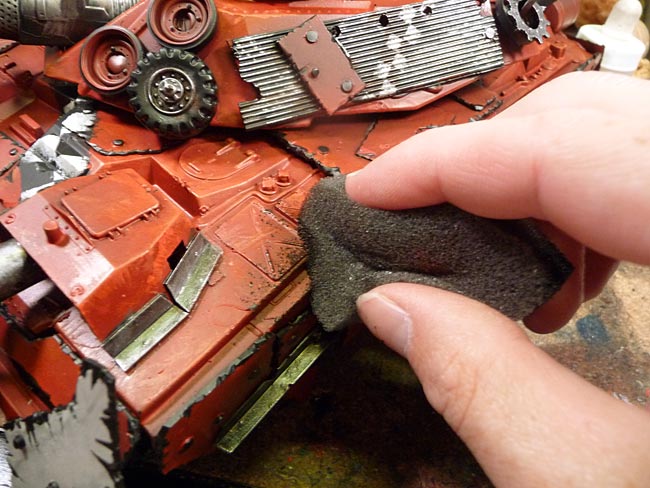
You can leave more paint on for larger areas of wear, take some time to experiment on how much you need to achieve the effect you want. TIP: If you’re unsure as to how the first dab or two are going to look and are afraid of “ruining” something, test it in a spot lower on the vehicle and in the back, somewhere out of the way of normal viewing angles.
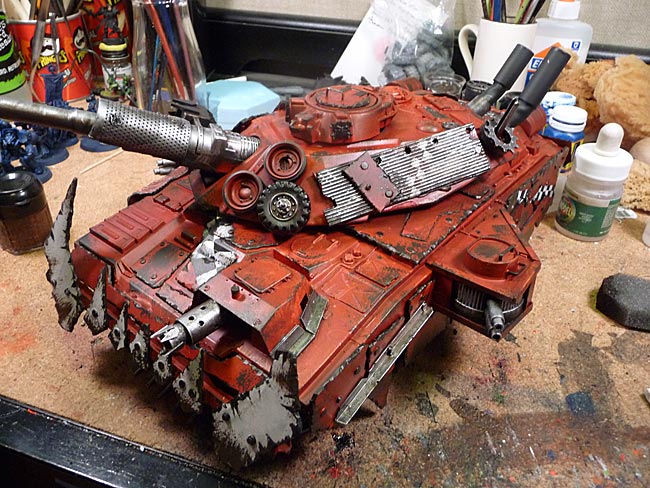
Here’s the vehicle all dabbed up…
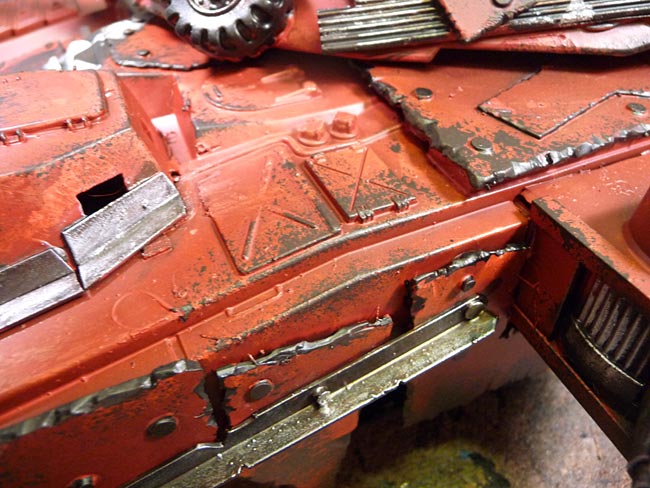
And here’s a close up of the area I started at…
Coming UP: Part II