Da Grots Are Green!

Slow progress, but progress nonetheless.
Spent time over the last couple of days getting the base skin color of my grots figured out. I know I wanted something more pale than the regular ork boyz but something that was still somewhat bright. The frustrating part is none of hte paint colros I used back then exist now so I have to pretty much guess, or trust an online conversion chart, as to what I should use today. Good thing I had taken pictures when I painted my last group of grots in 2010. (dammmm, that was 16 years ago!)
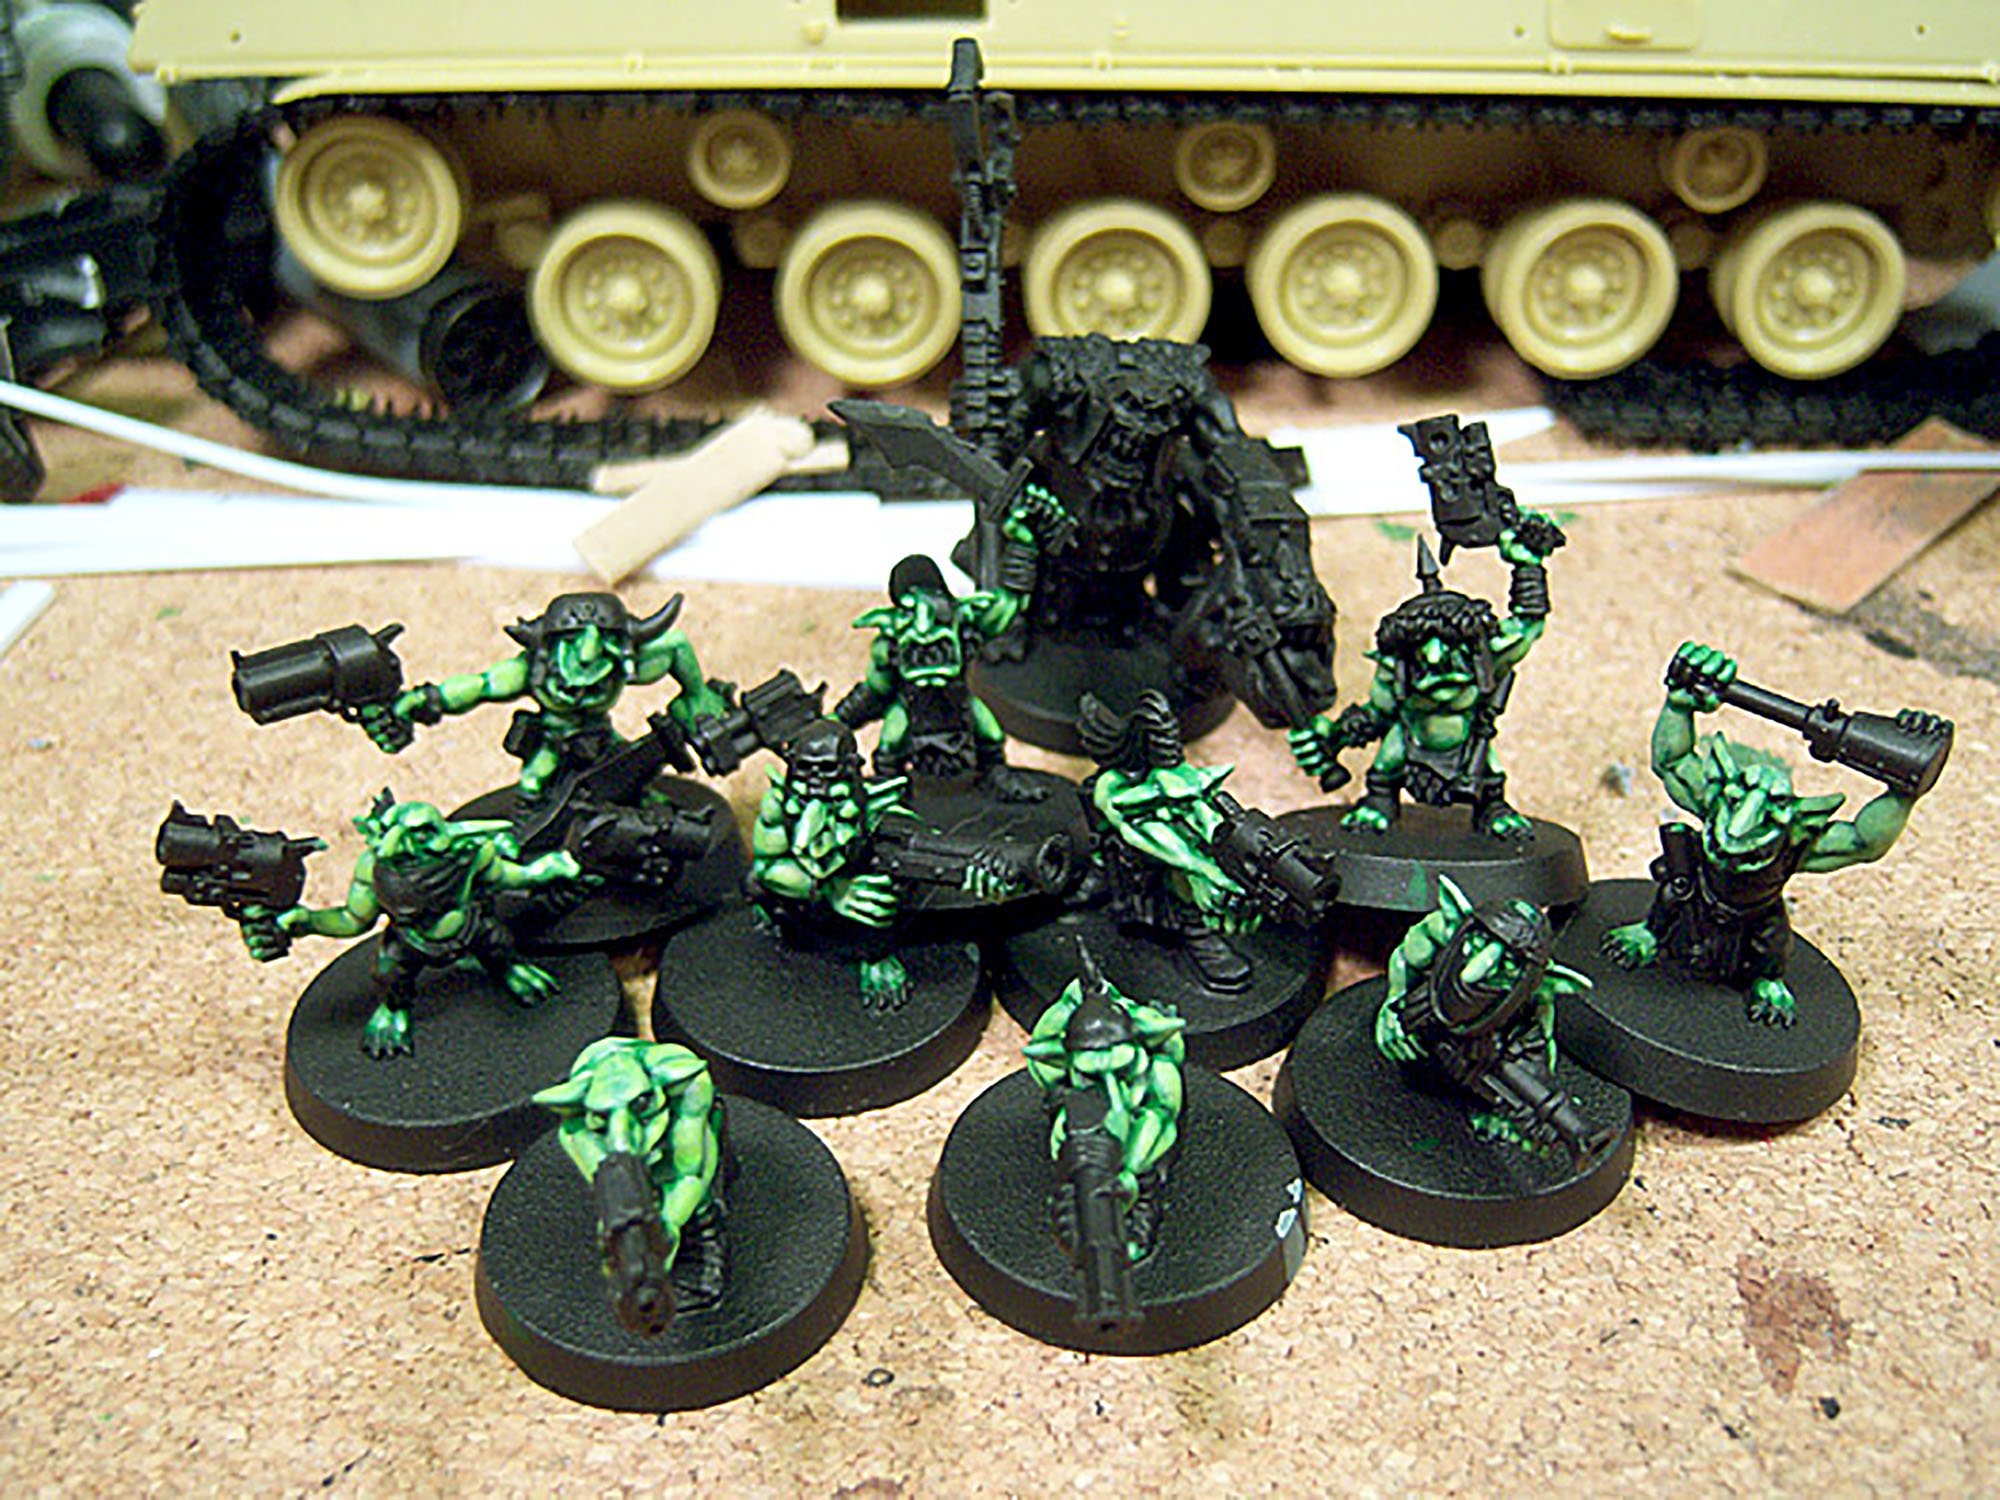
Here’s what I’m attempting to replicate:
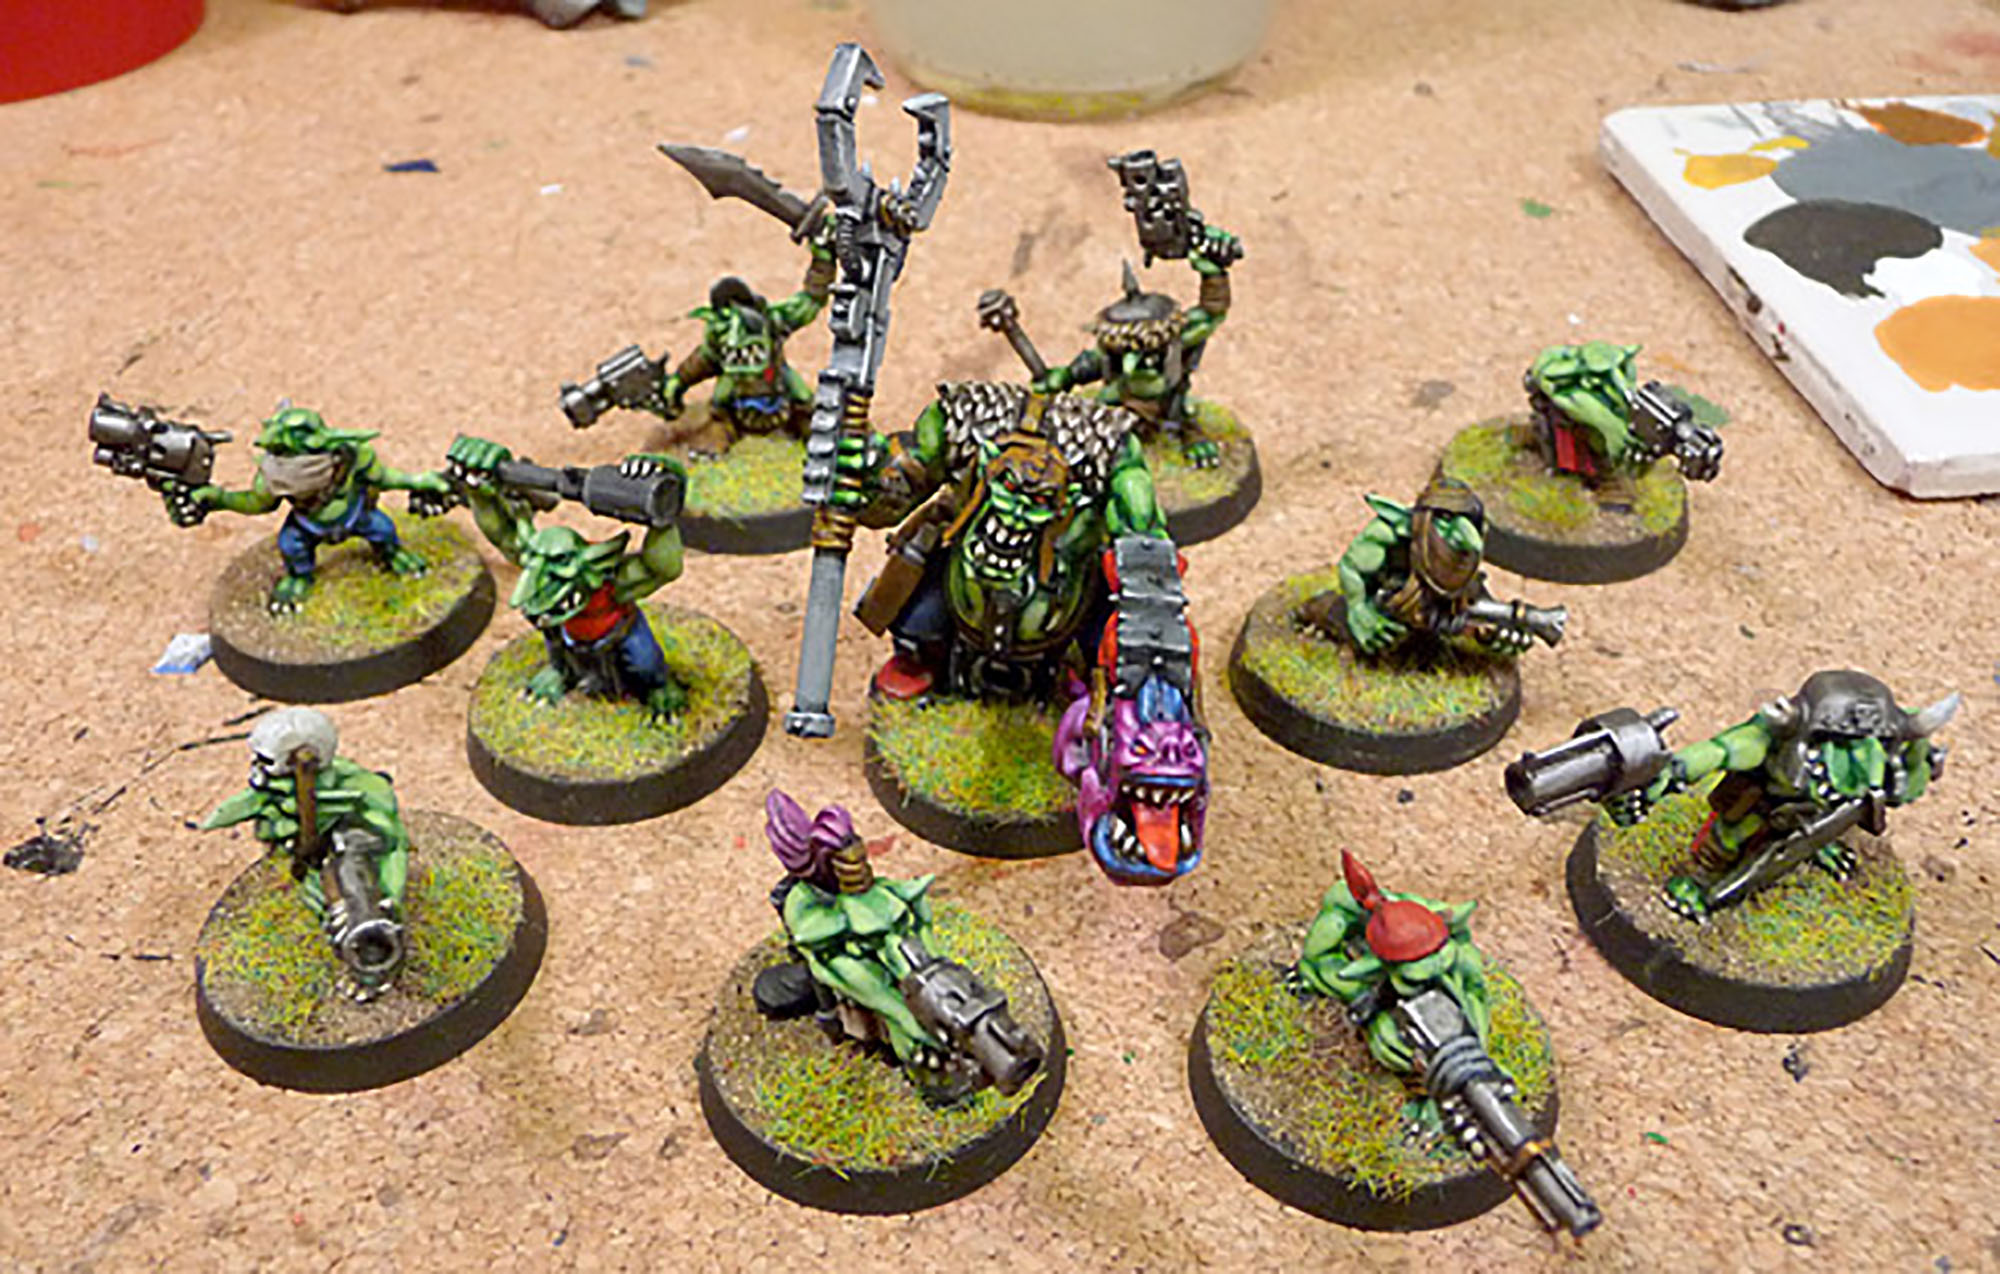
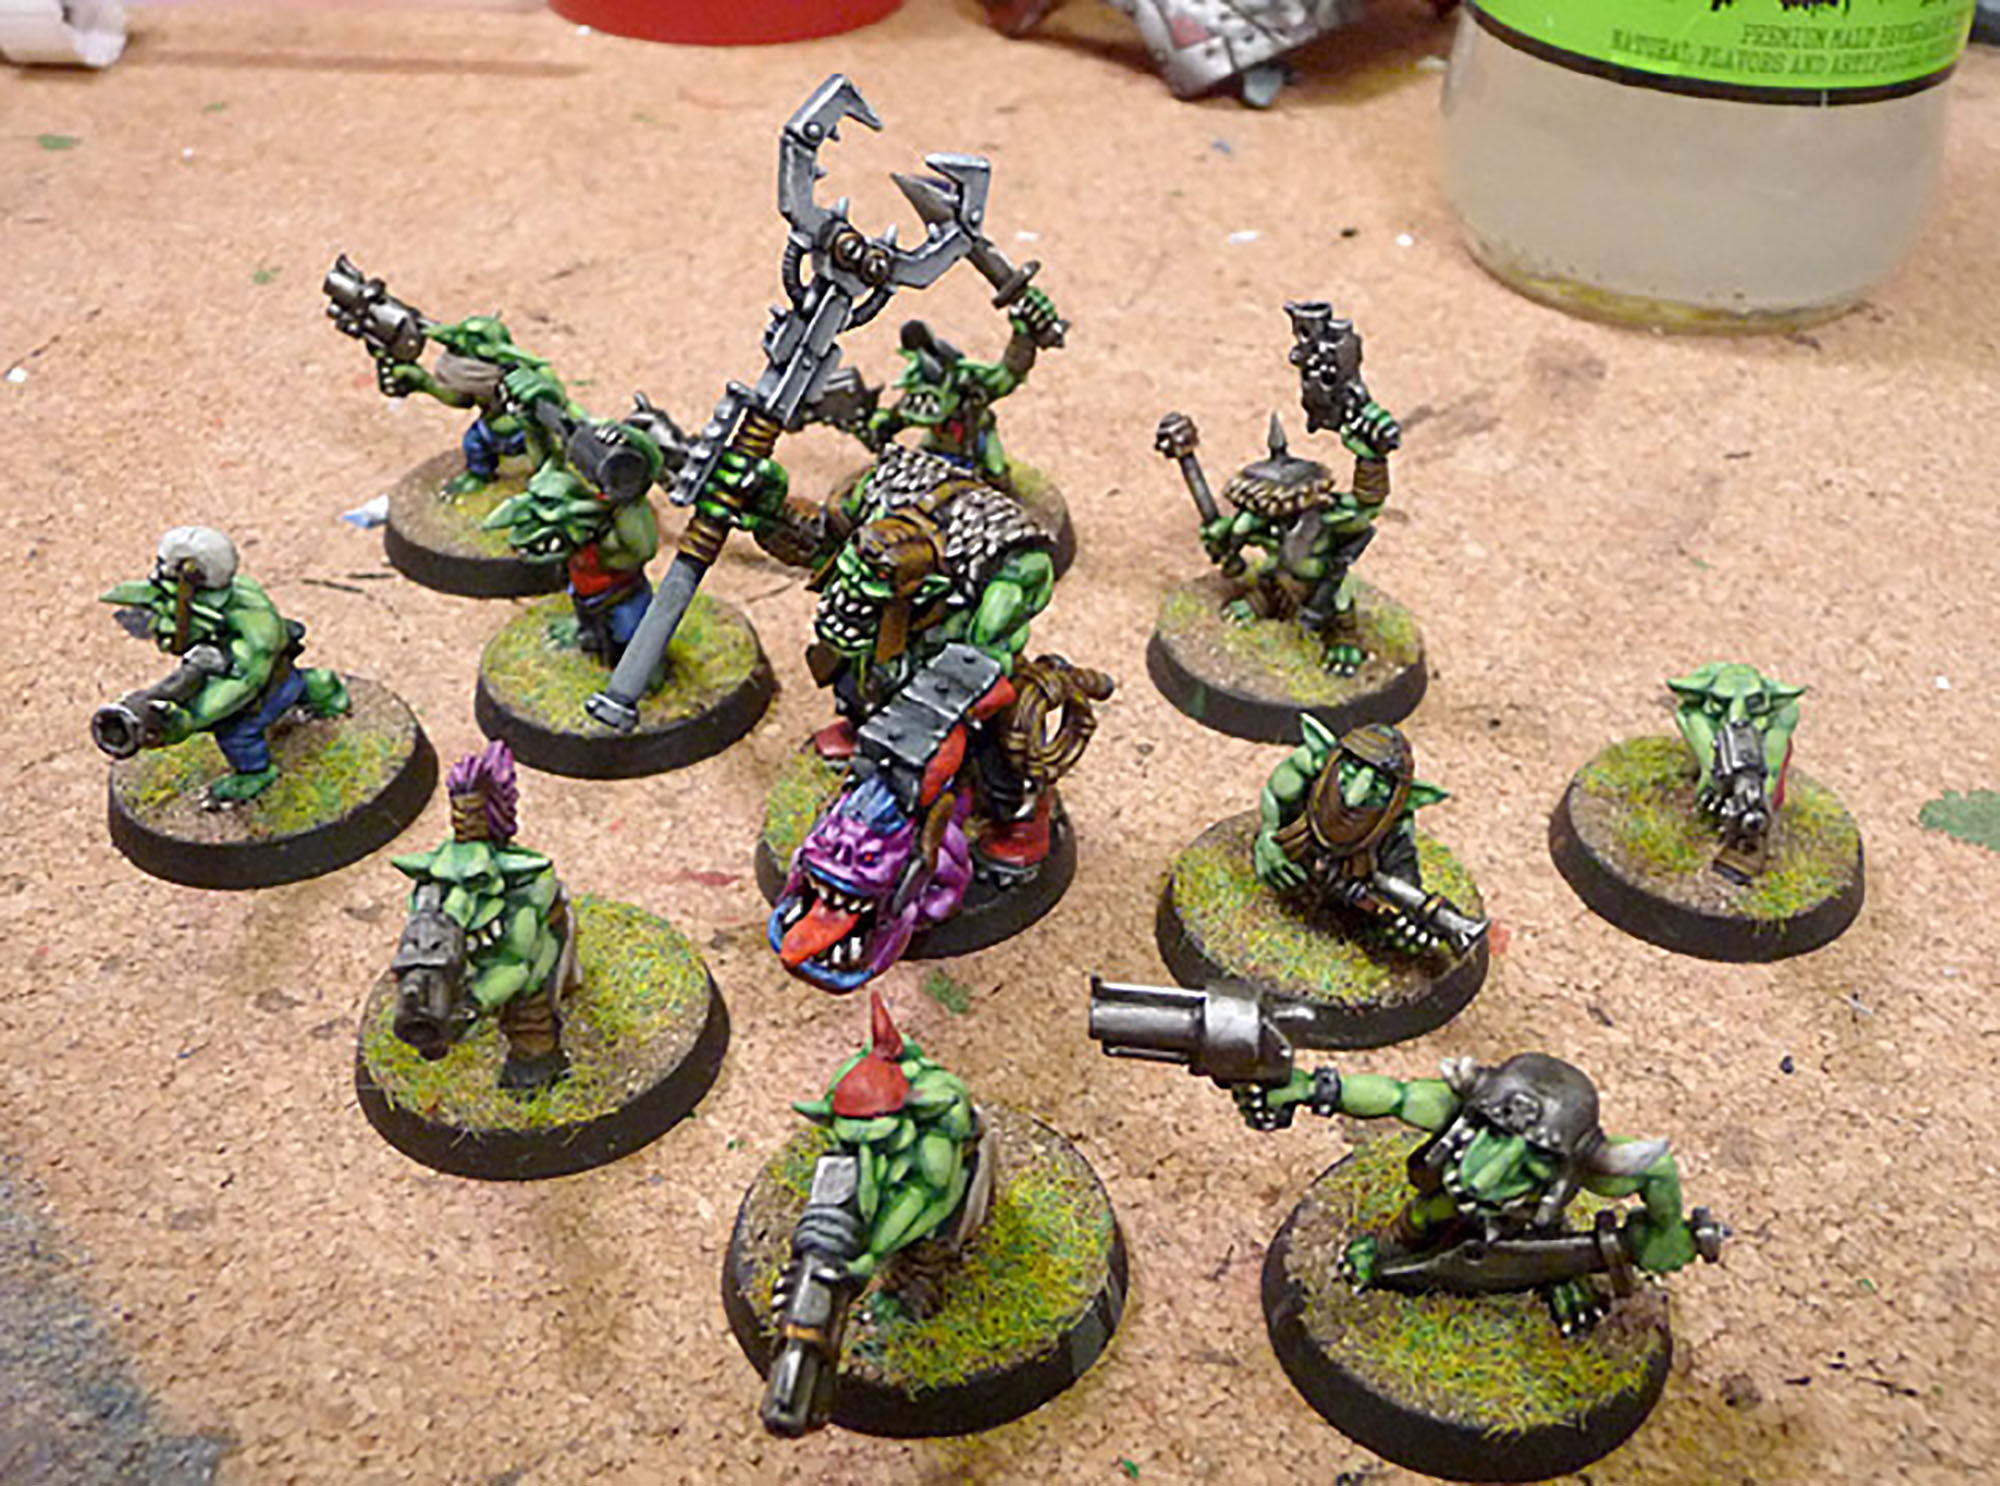
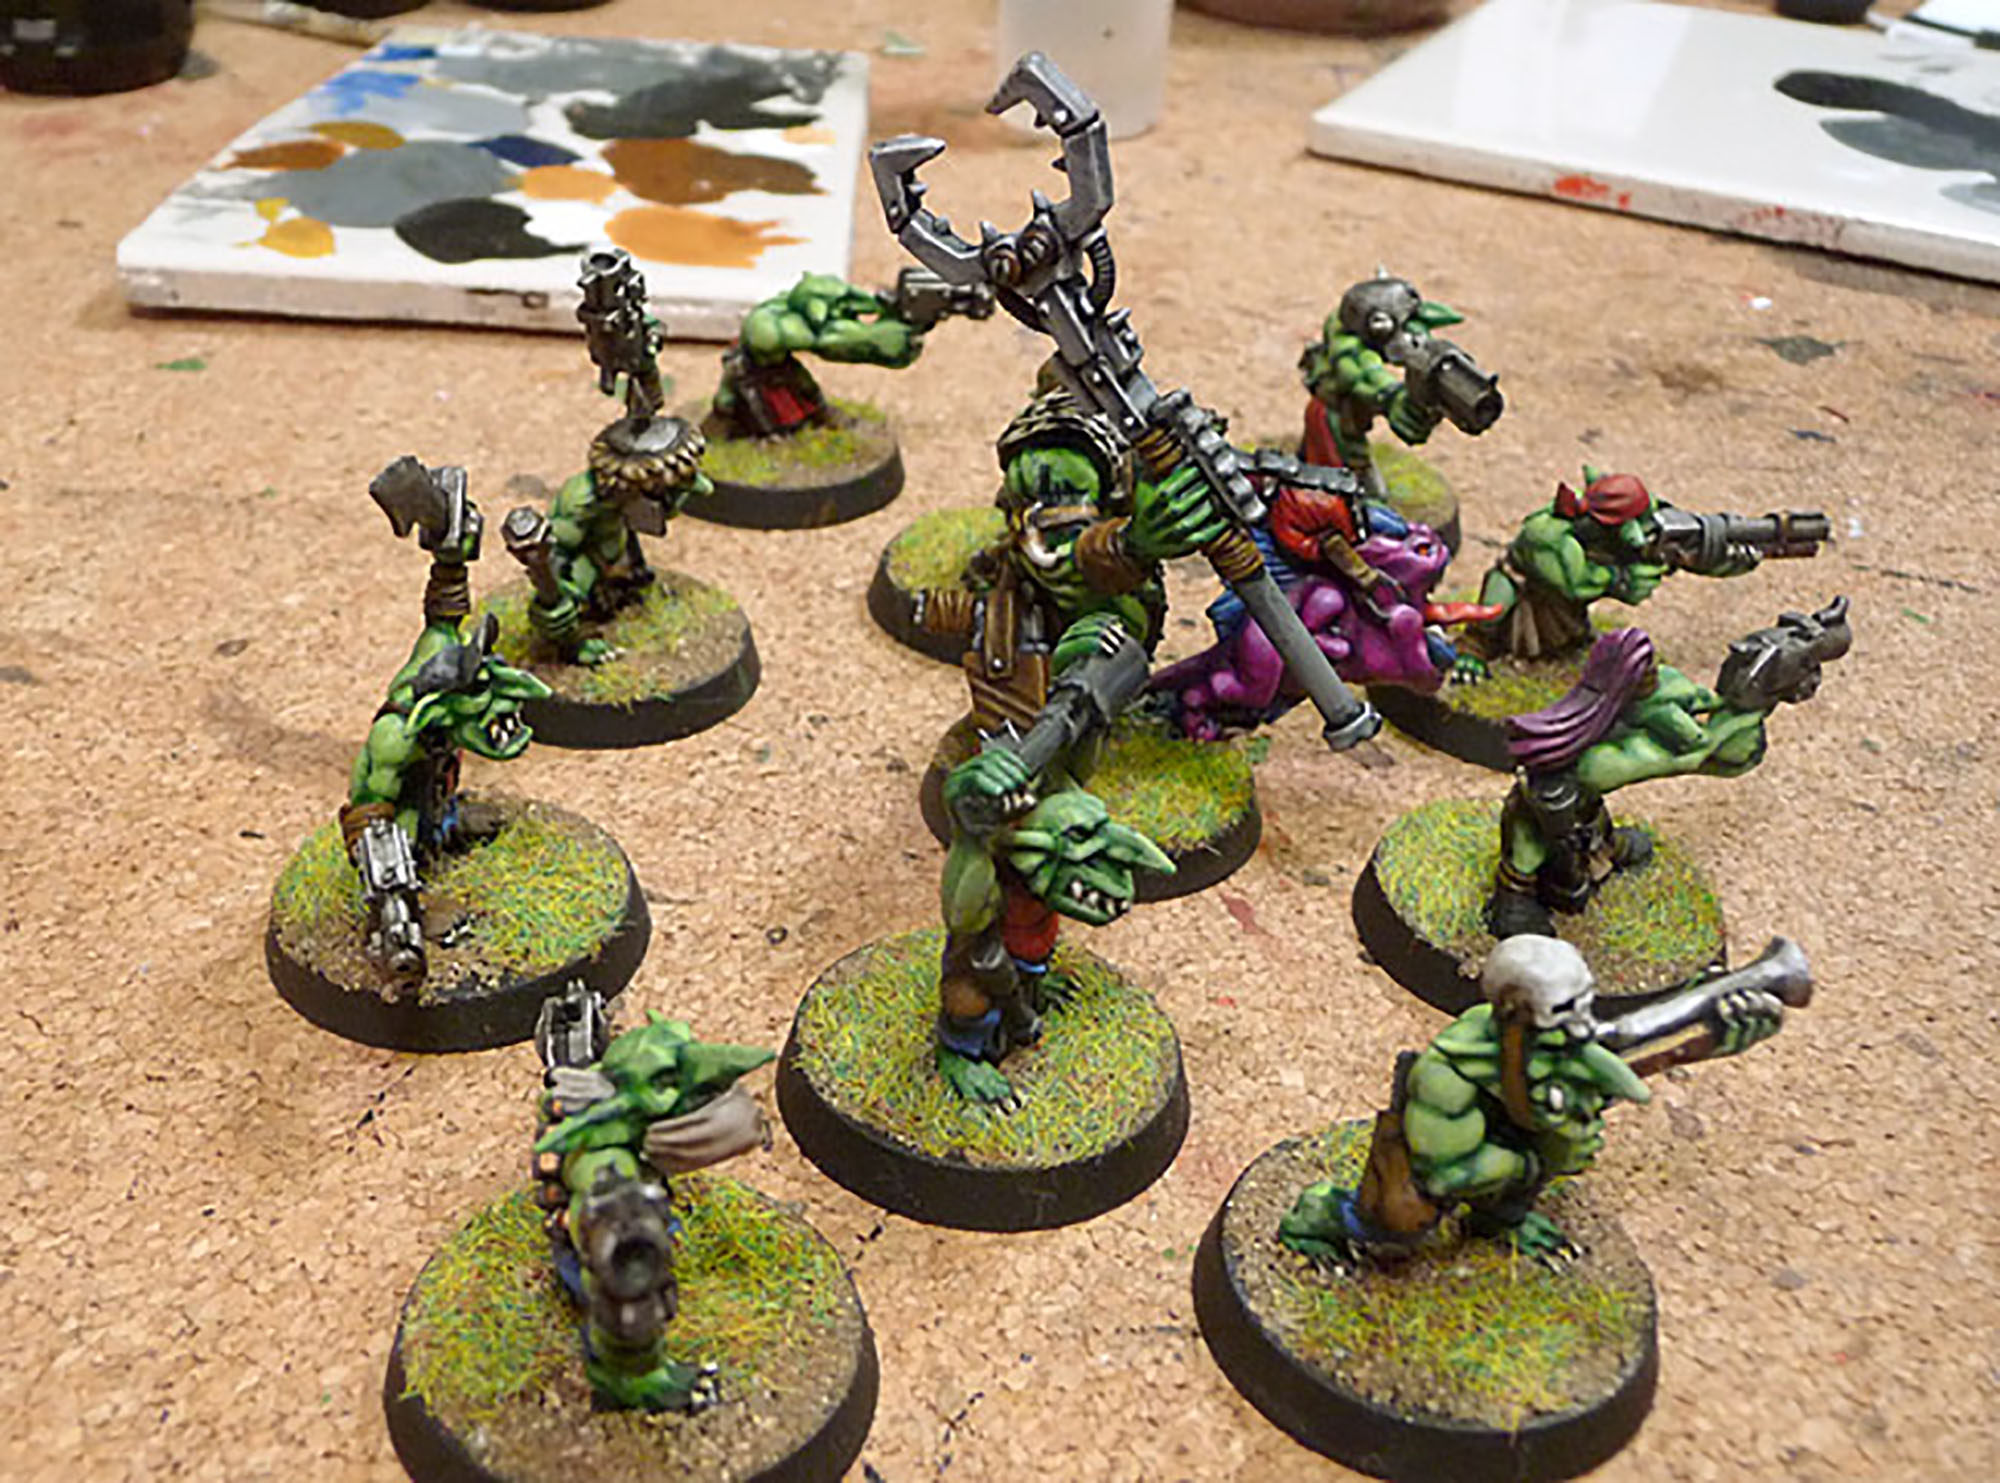
The pics are a bit grainy as I had to resize them up a bit. Hi-res pics from 2010 were 1024×768. Yeah. So all of my old blog photos come across as really tiny in this day of 4K resolutions.
The skin tone here is a pale, but still somewhat bright, the highlights going towards a white. I want to go a little more neon with my new grots so using these iamges to adjust accordingly.
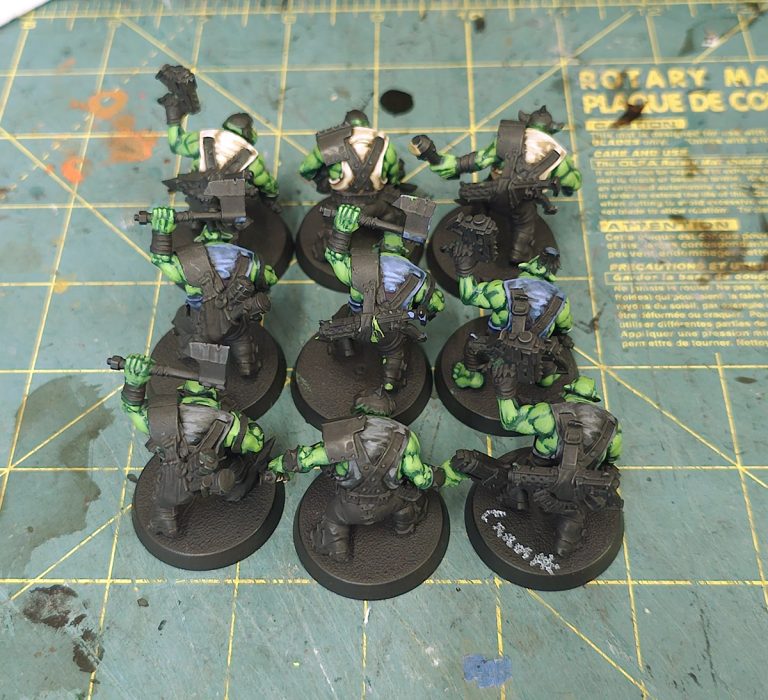
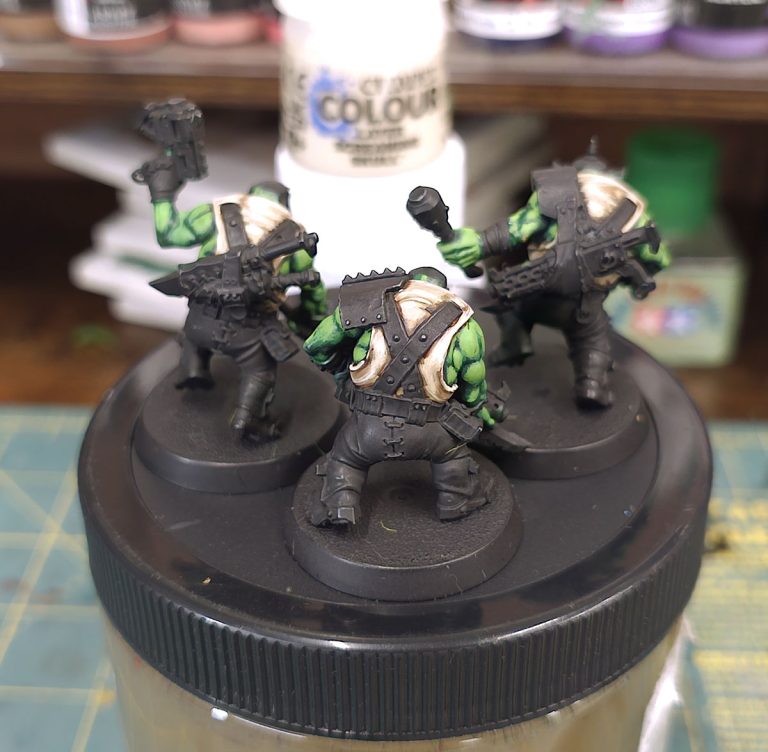
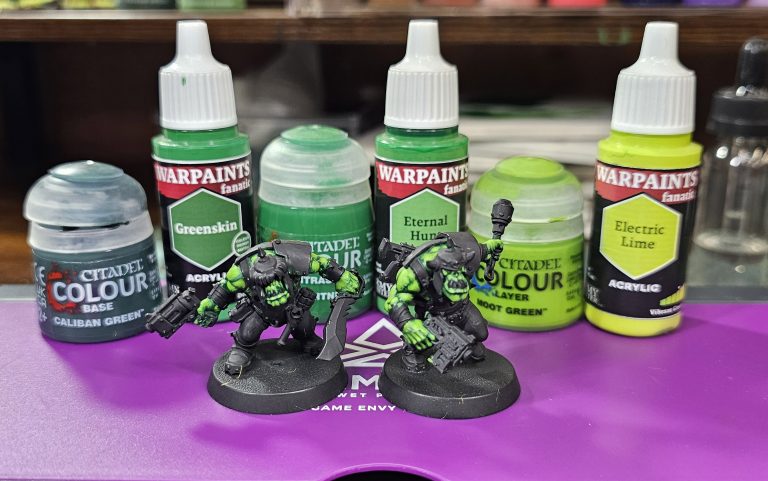
I started with Citadel’s Caliban Green in my last post. My progression for these fellas was: Army Painters Greenskin –> Eternal Hunt –> Emerald Forest, and a test grot using Electric Lime to see if I want to go that bright. I didn’t want to commit to painting all 20 of them and find out it’s too much when all is said and done. It won’t take much time to do a touch up an extra highlight layer if I find it helpful at the very end.
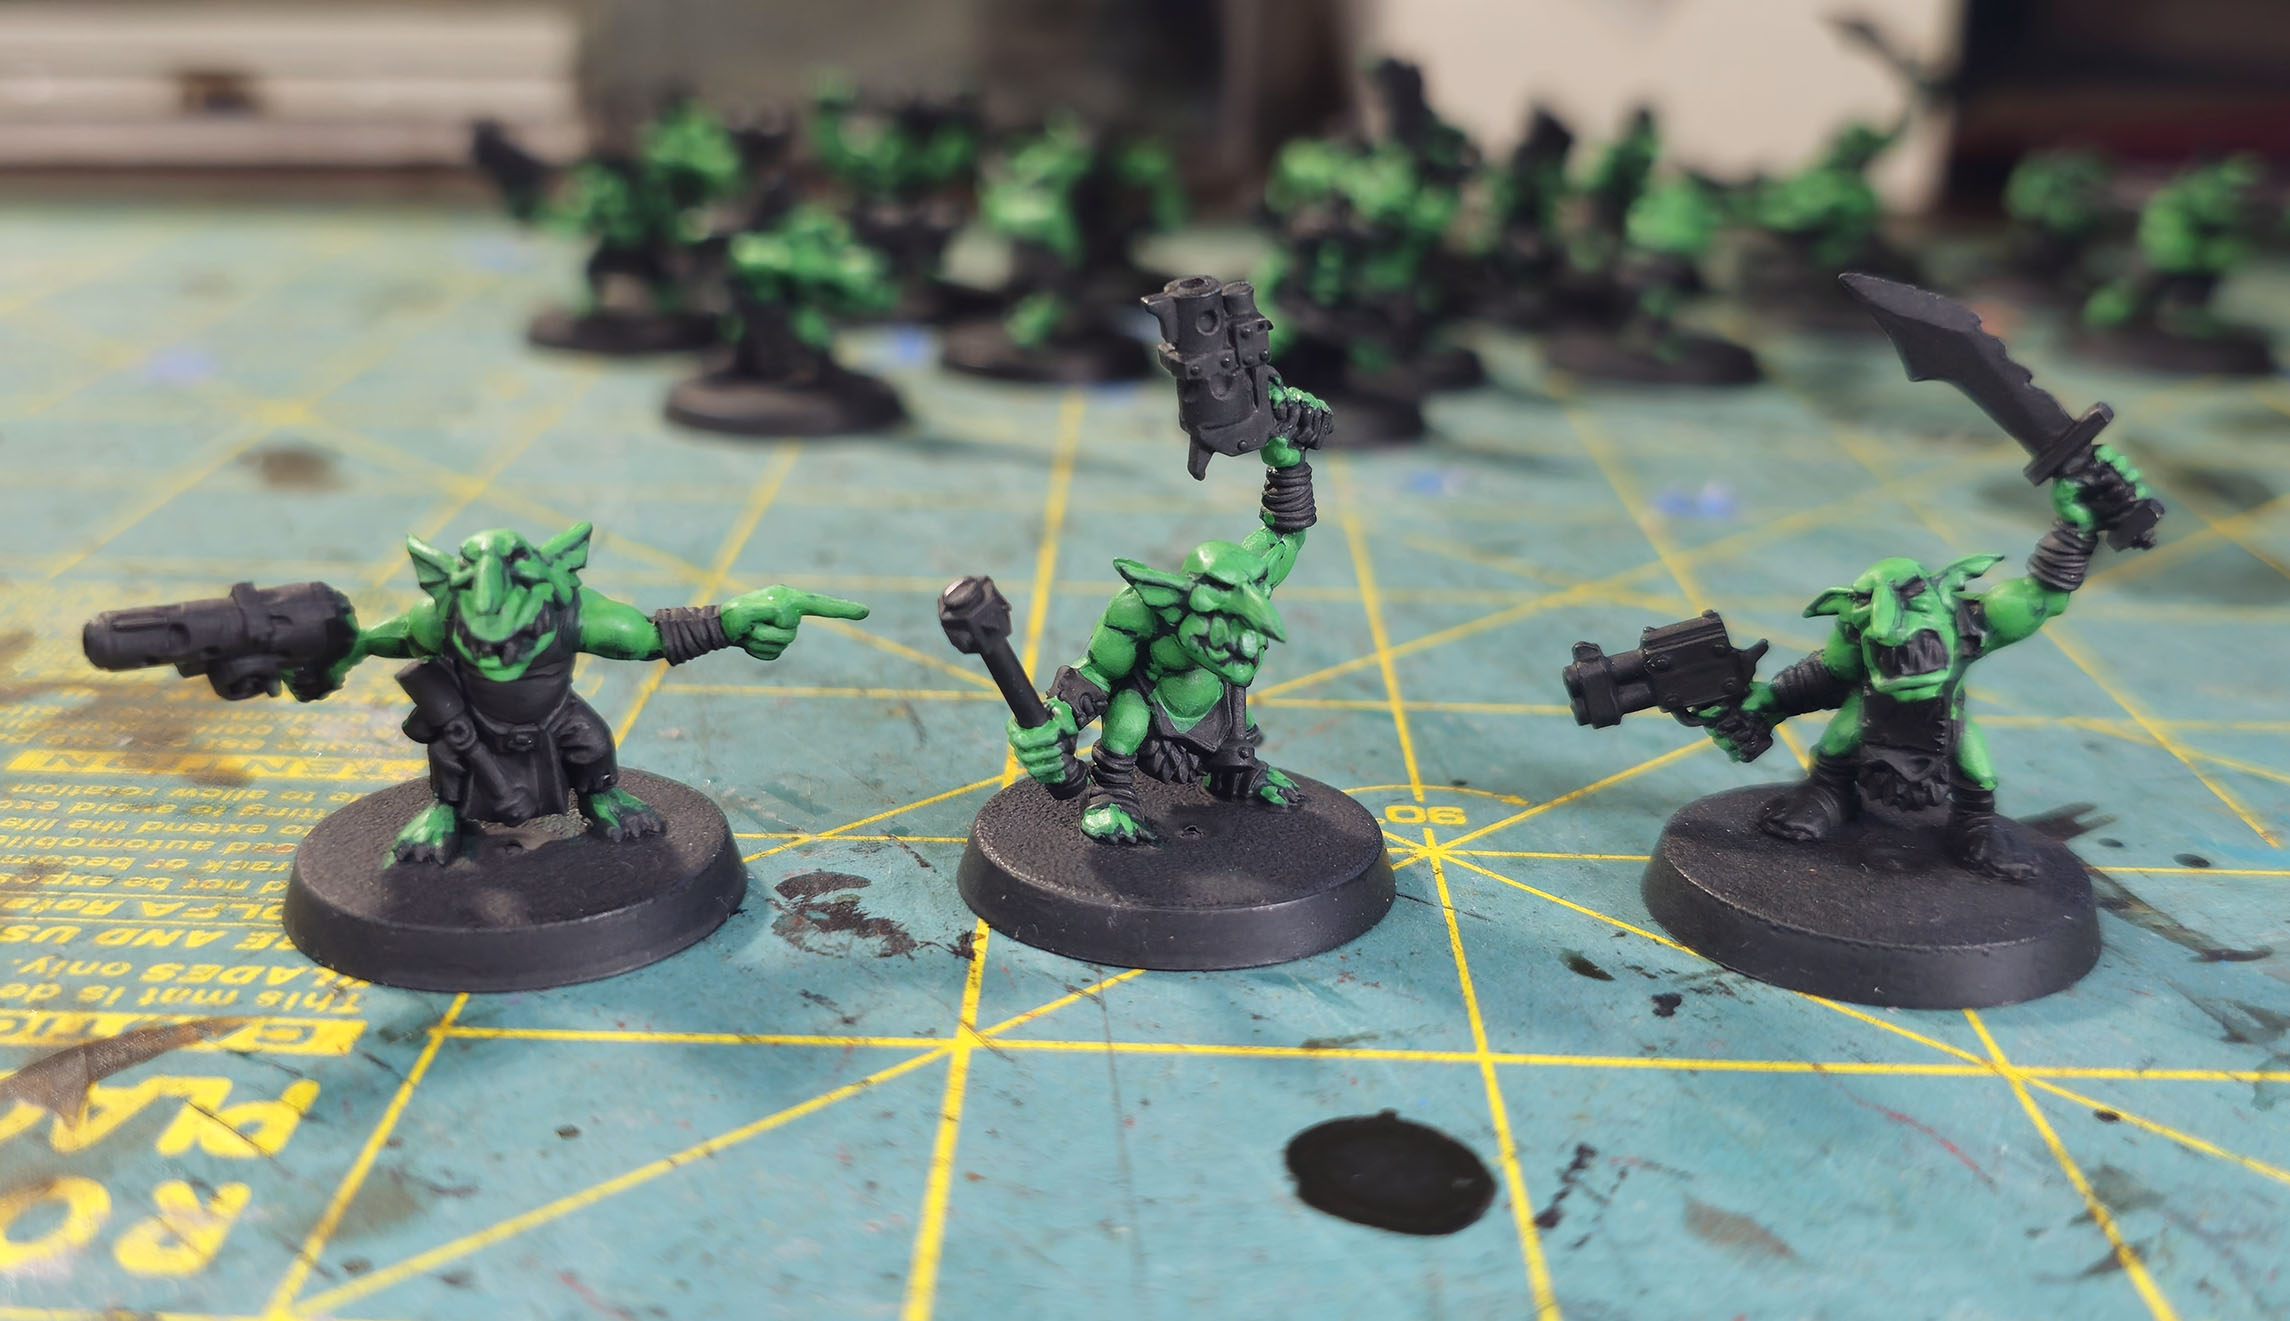 Army Painter Greenskin
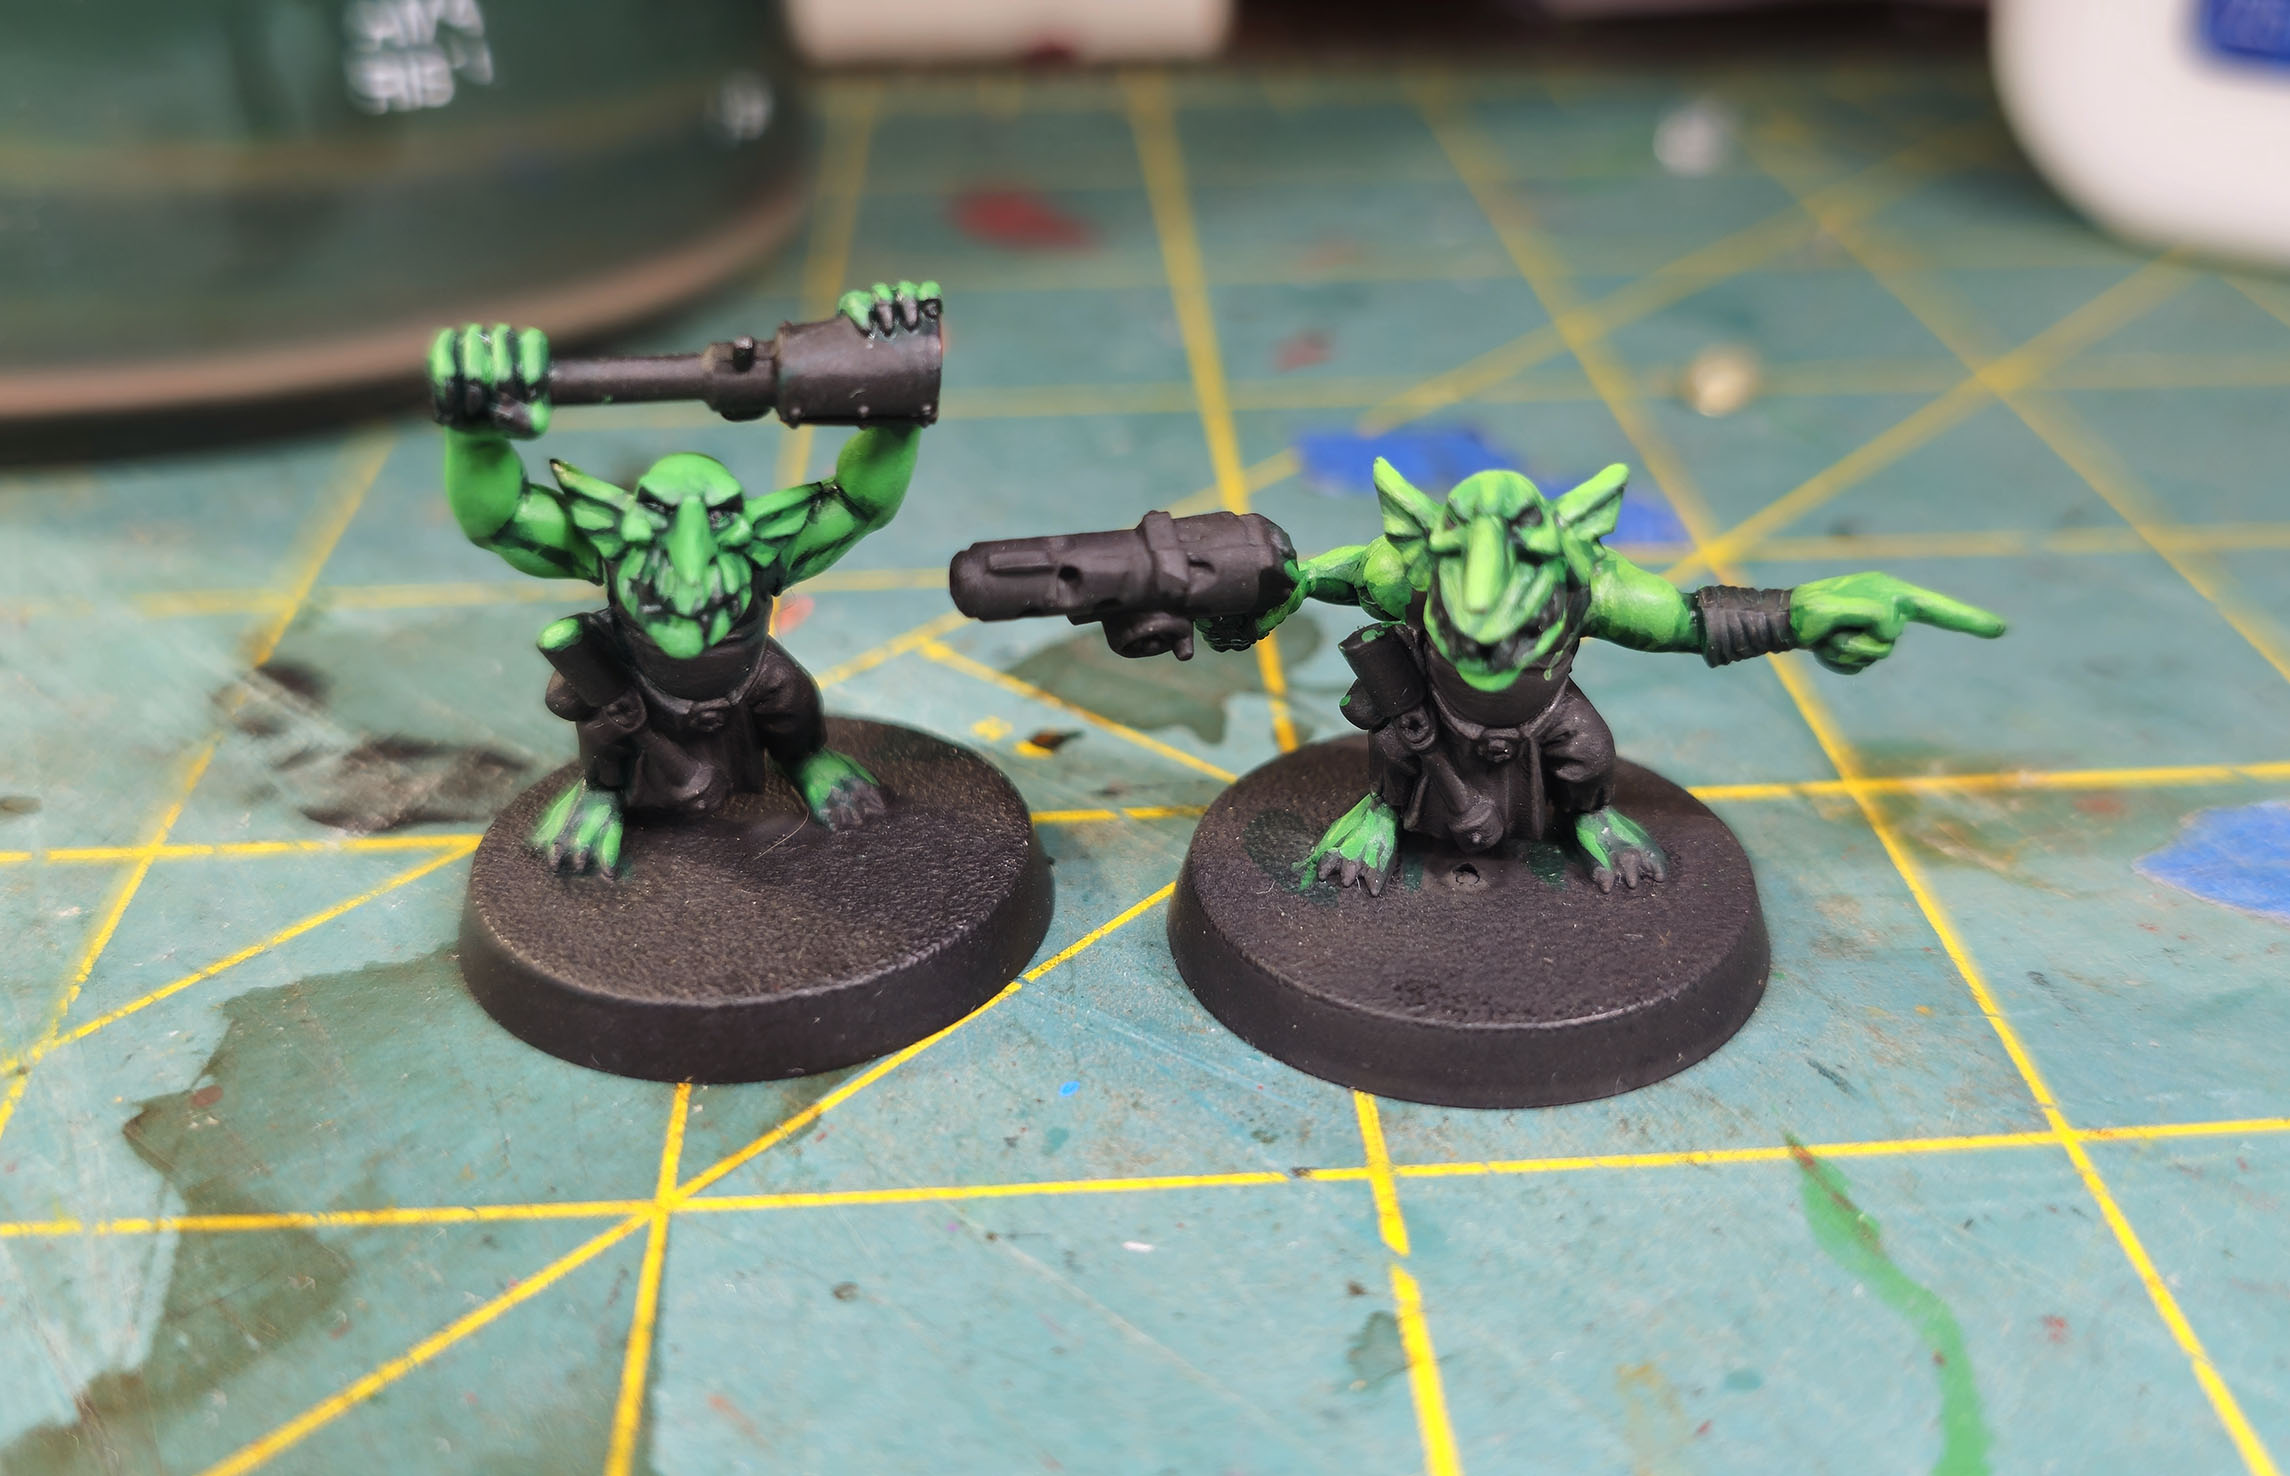 Eternal Hunt
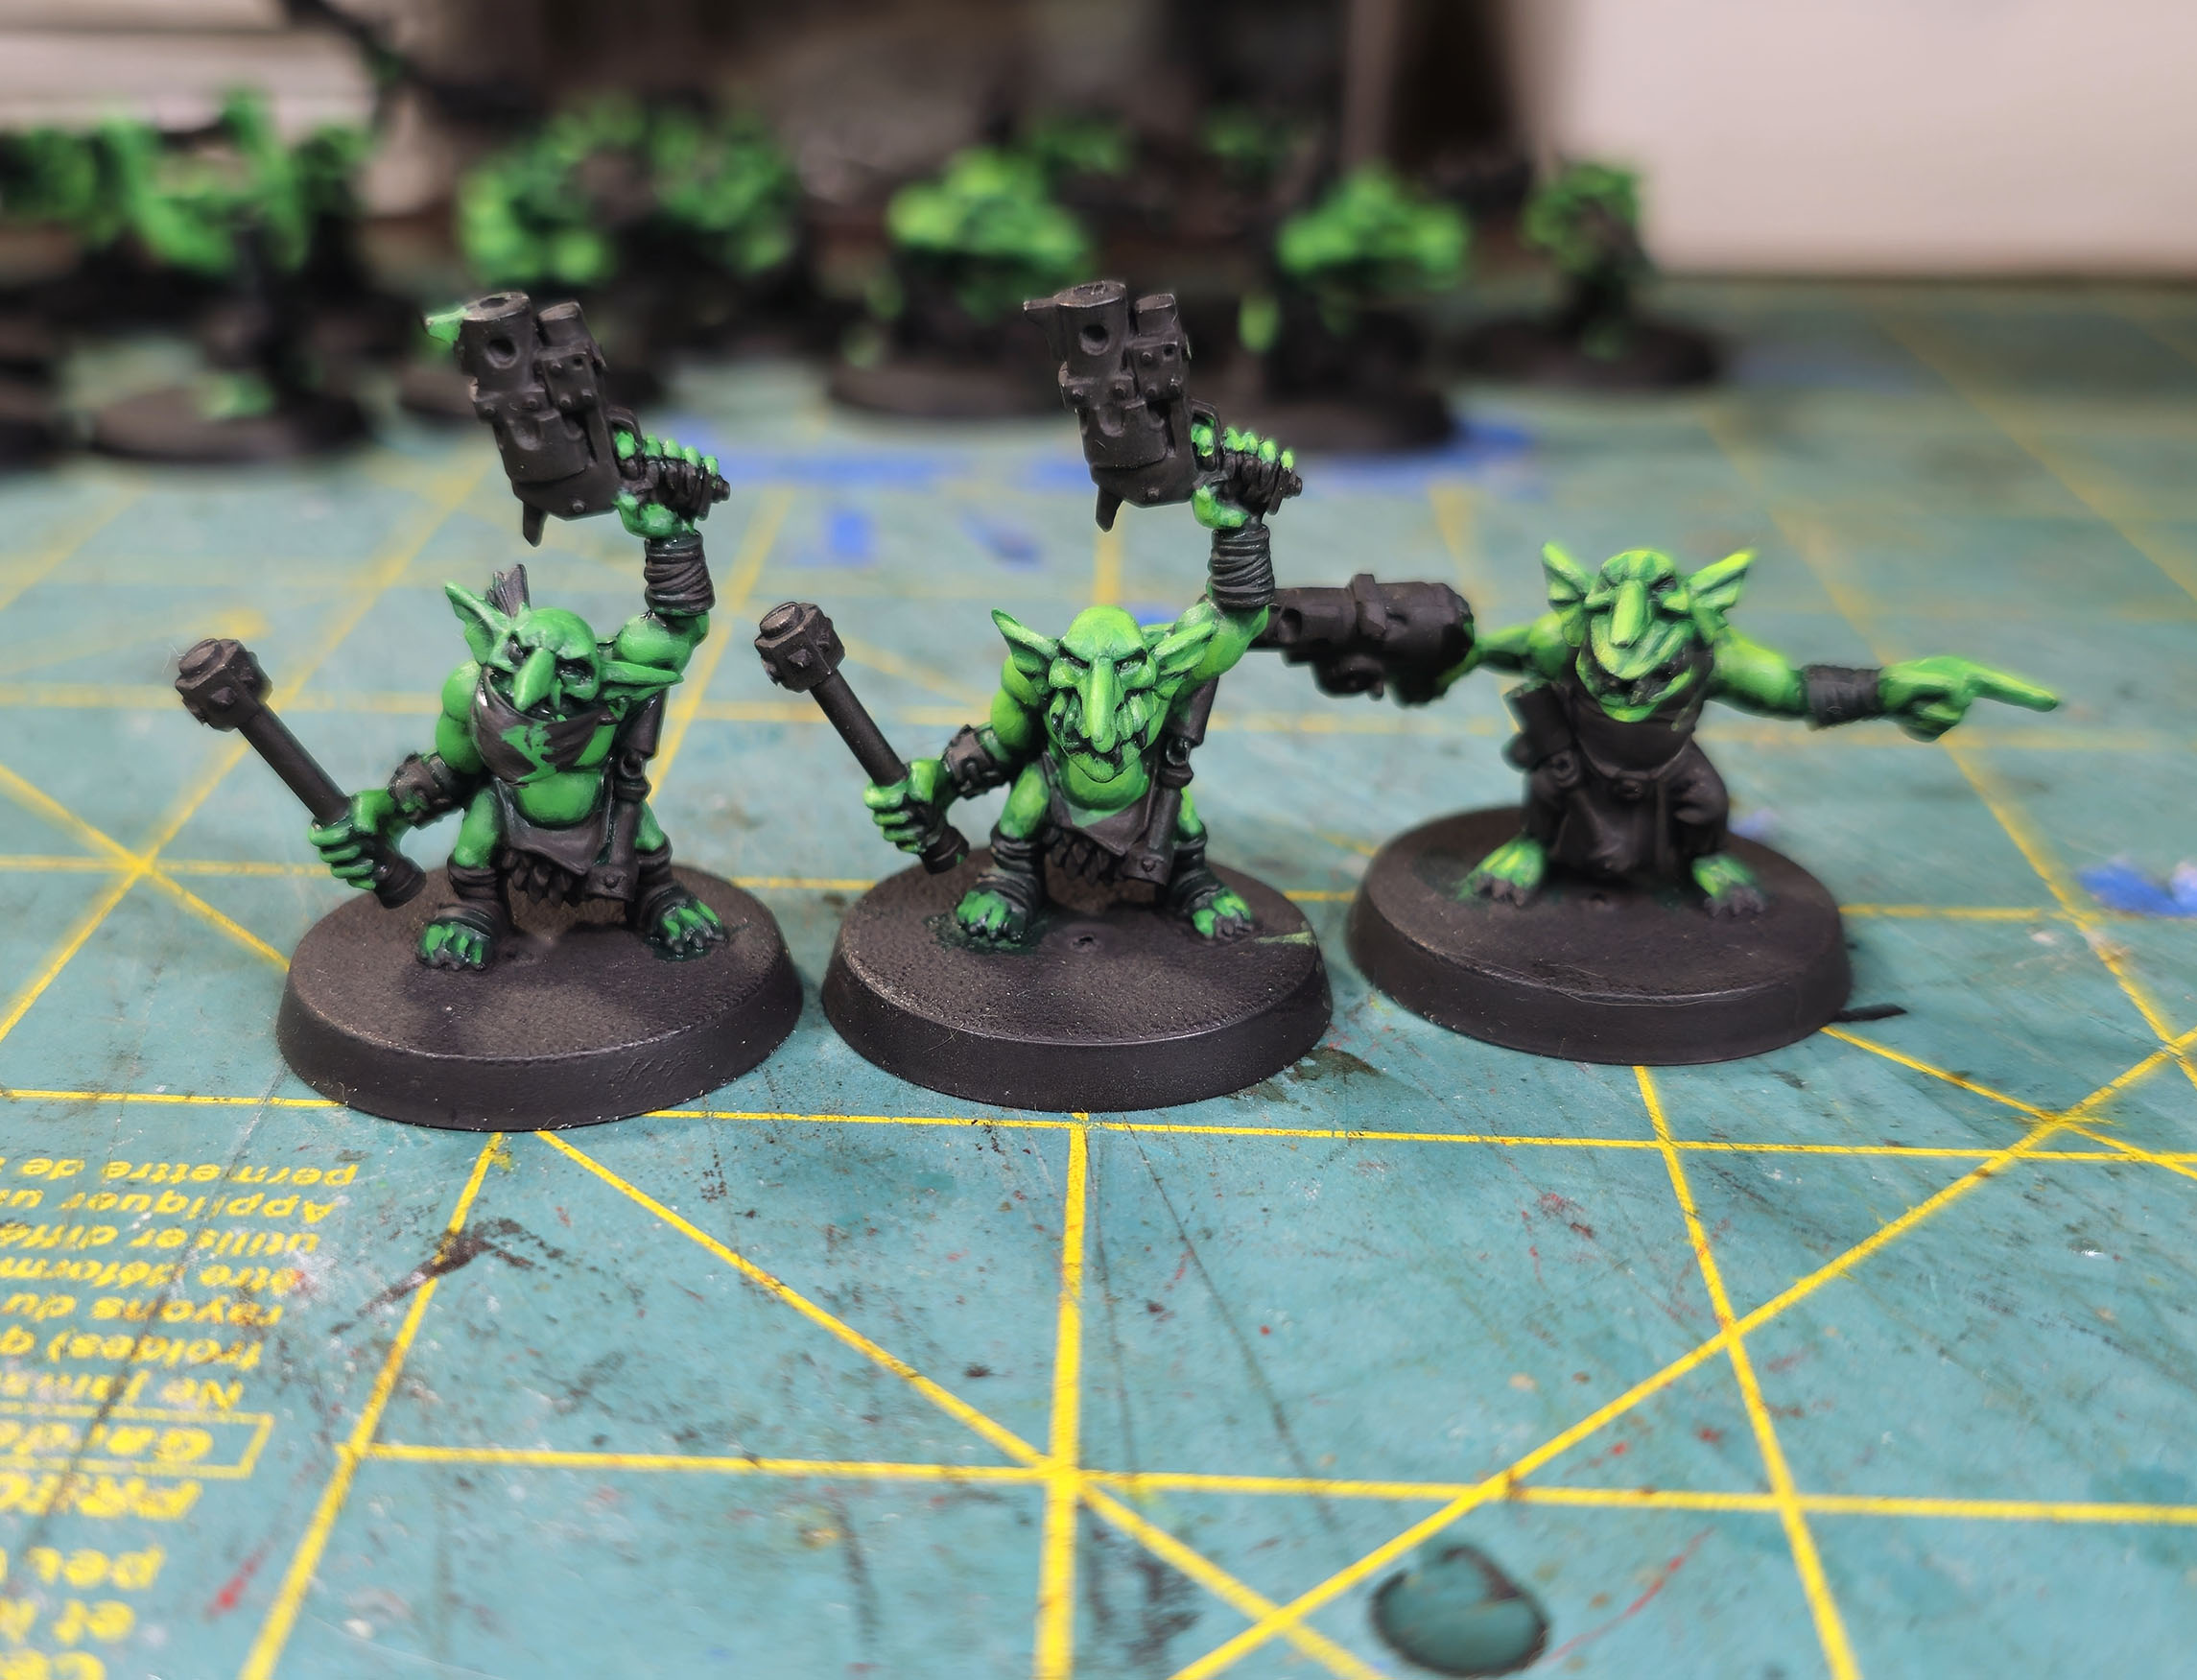 A comparison showing the deference between the Greenskin/Eternal Hunt/Emerald Forest layers.
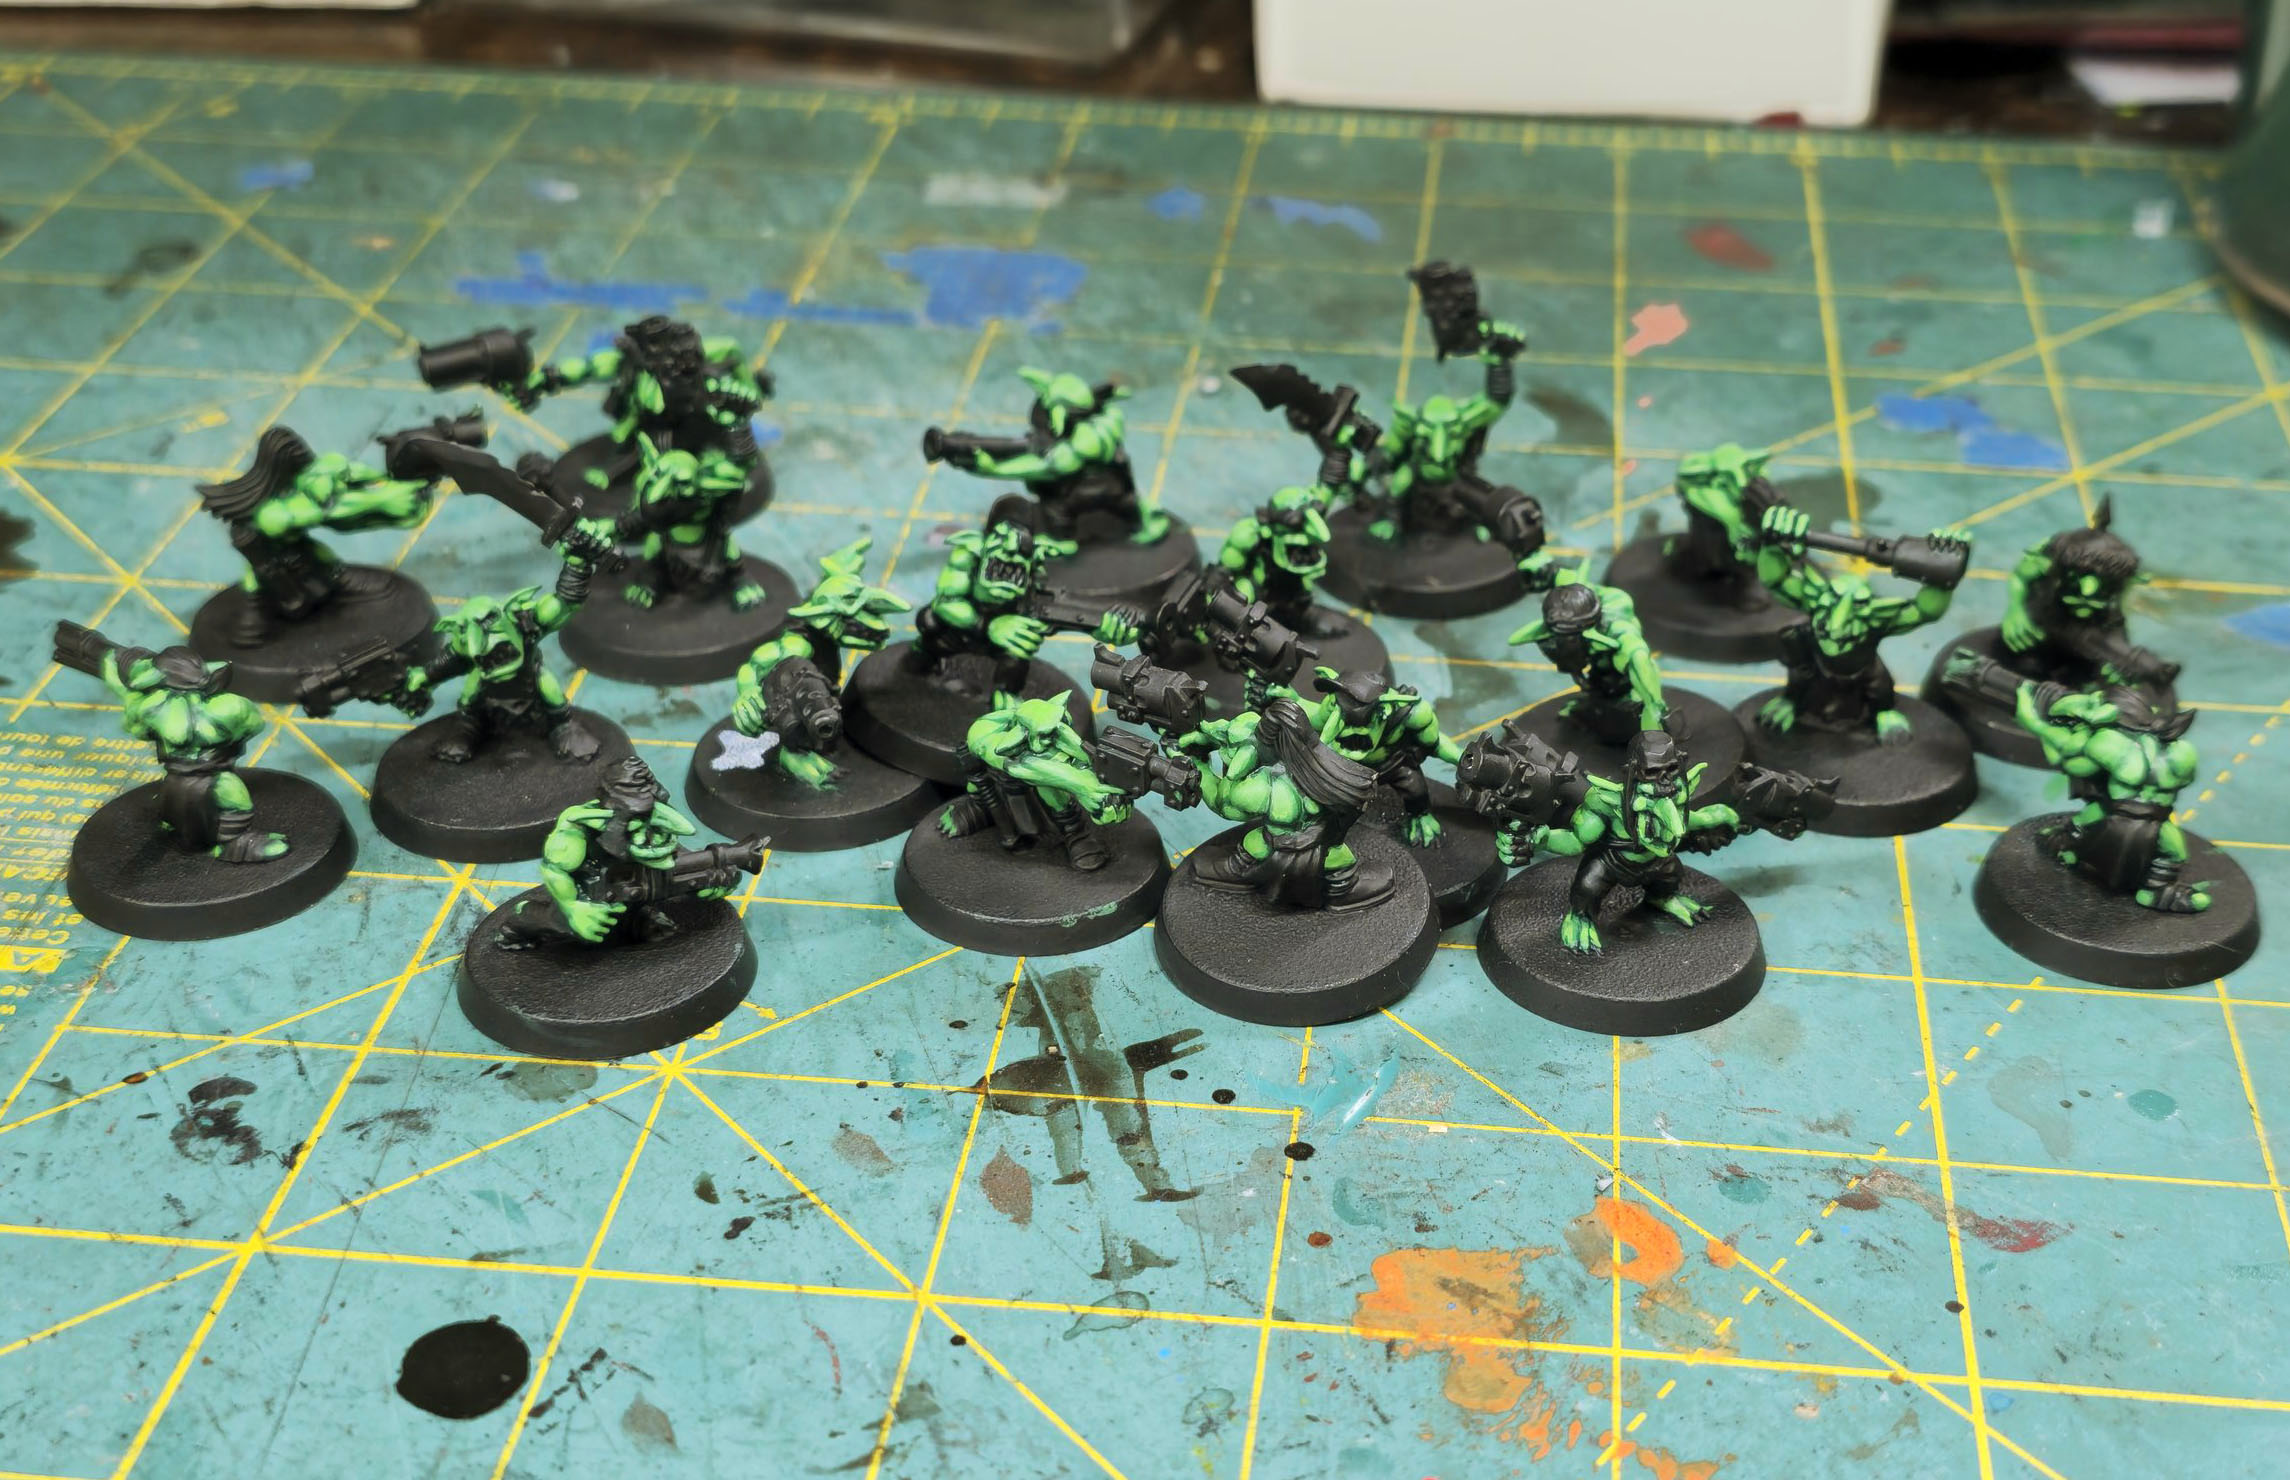
As I was painting the skin, I kept second guessing myself on a few things. One being are the colors right? The other was, am I doing a “good enough” job, or is it too sloppy with my layers. Yes, I want nice looking gretchin, but, these are basically testing models and I’m still working at getting my “painting hands” back after a long hiatus. Good thing I took a lot of photos for this blog back in the day so I can directly compare my progress. Here’s how my grots looked after the skin painting step in 2010. I’d say pretty close and I can move on. There is something to be said for the saying “trust in the process”, and it’s turning out ok for me.
When I paint the main skin areas of any models, I’m not too picky if I go outside the lines when doing this. After I’ve got what I want for the main coverage, I go back through each model and touch up the outlines and brush slips with thin black paint. This leaves me a nice, clean canvas to start the rest of my detailing.
Next up – claws, teef, and bones.
Later!